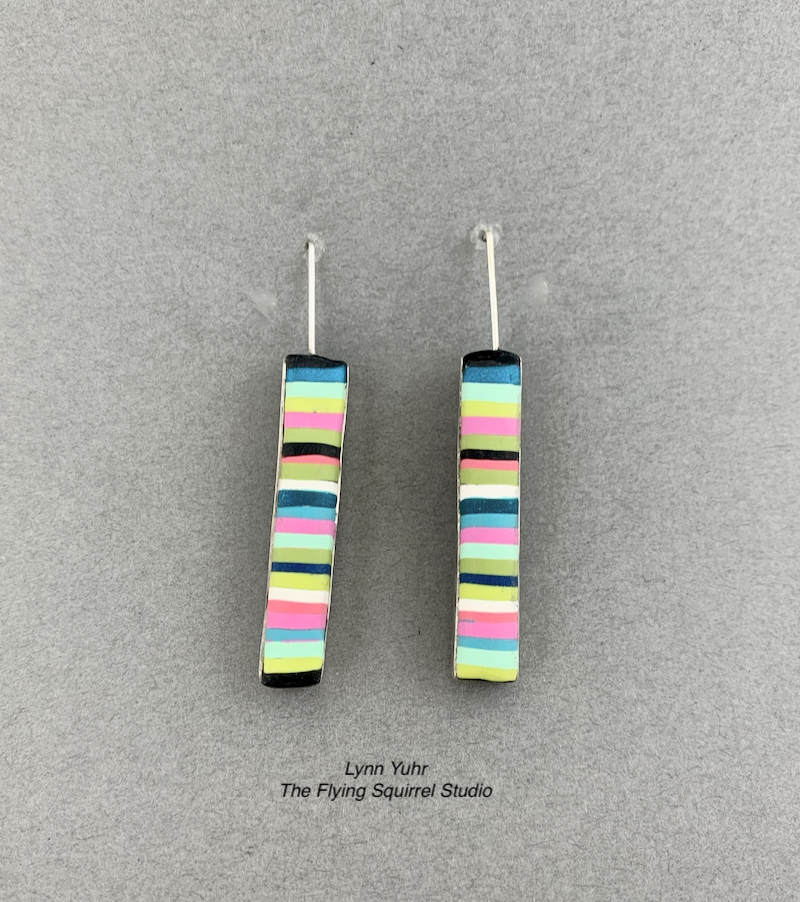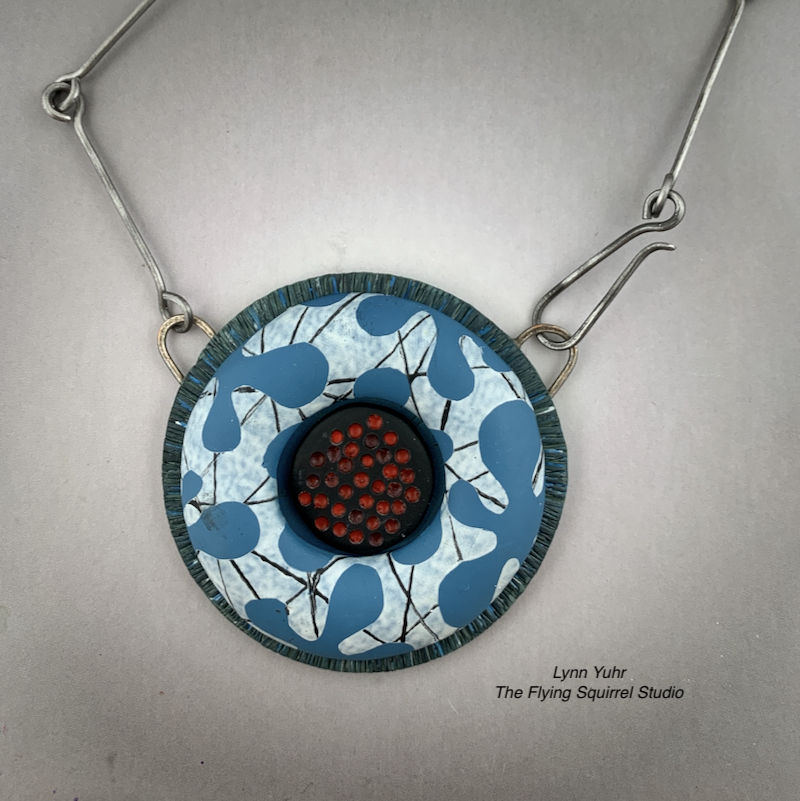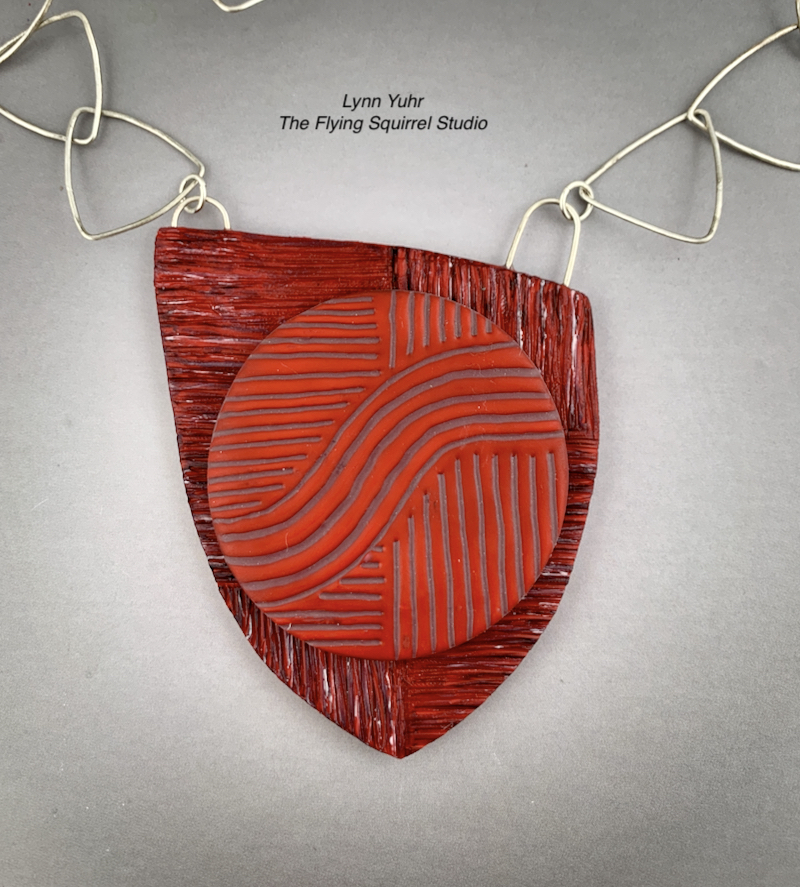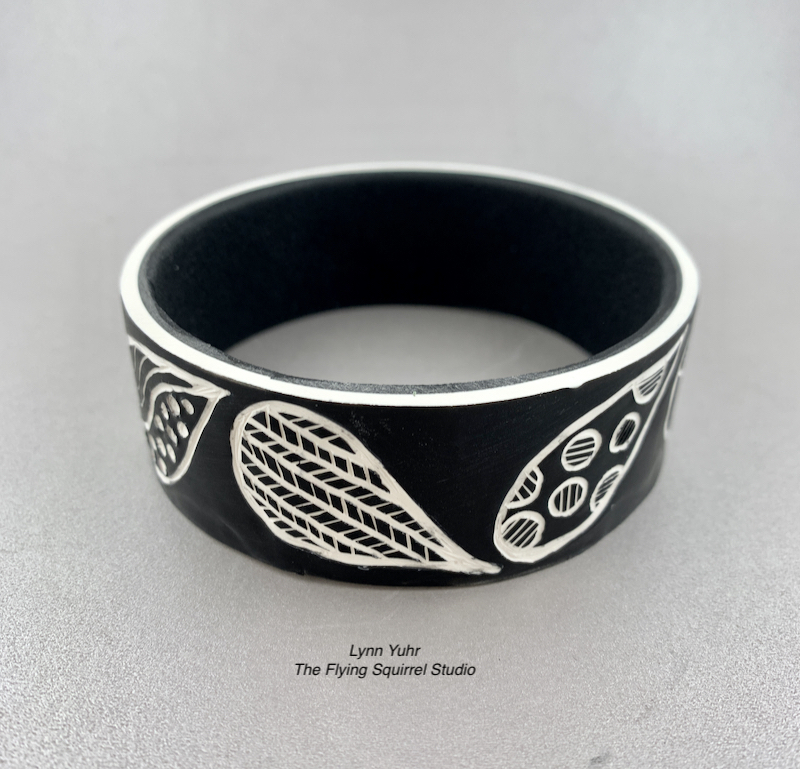
Beadfest in Lancaster, PA is coming up the first week of August and there are a few new twists to the event which may interest you. Interweave has combined a few events (Bead Fest, Stitch Fest, Yarn Fest and Art Fest) to create a Makers Festival. I am especially looking forward to the exhibit hall with all the supporting vendors!!
I am, of course, teaching four classes as part of this event. The goals for all of my classes are to take very simple steps and build a sophisticated or fun little project that is completed in class!
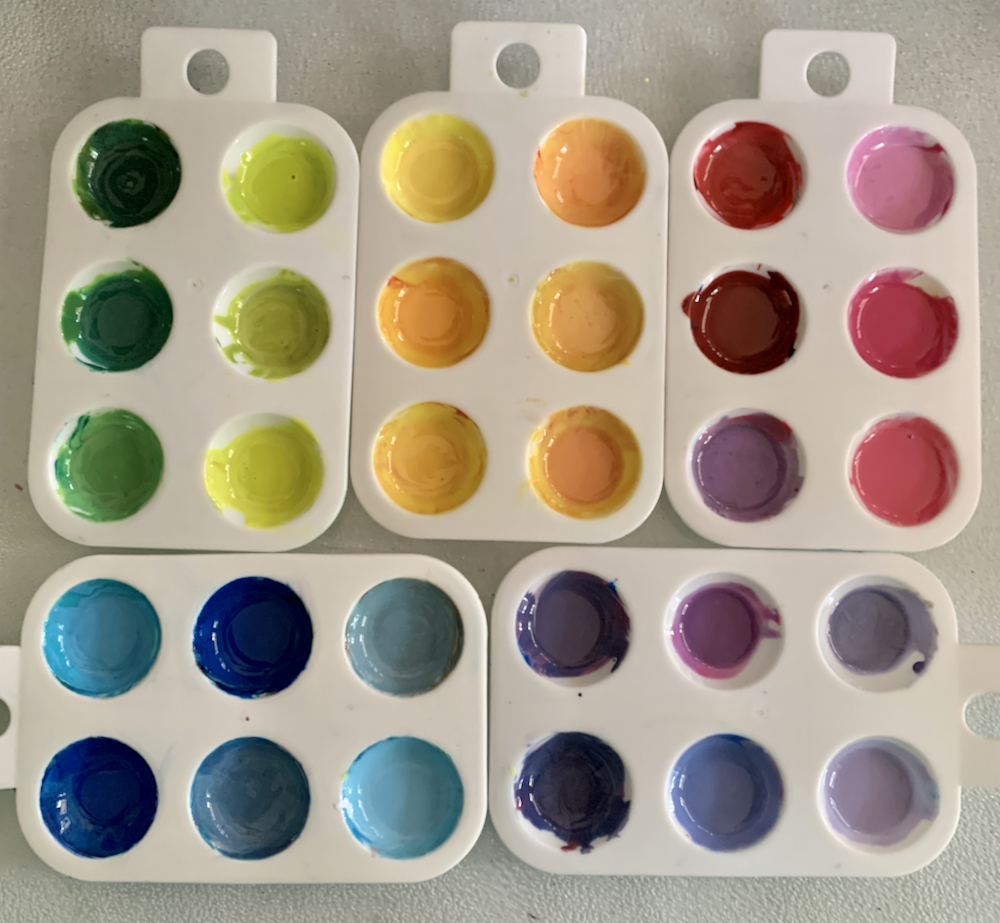
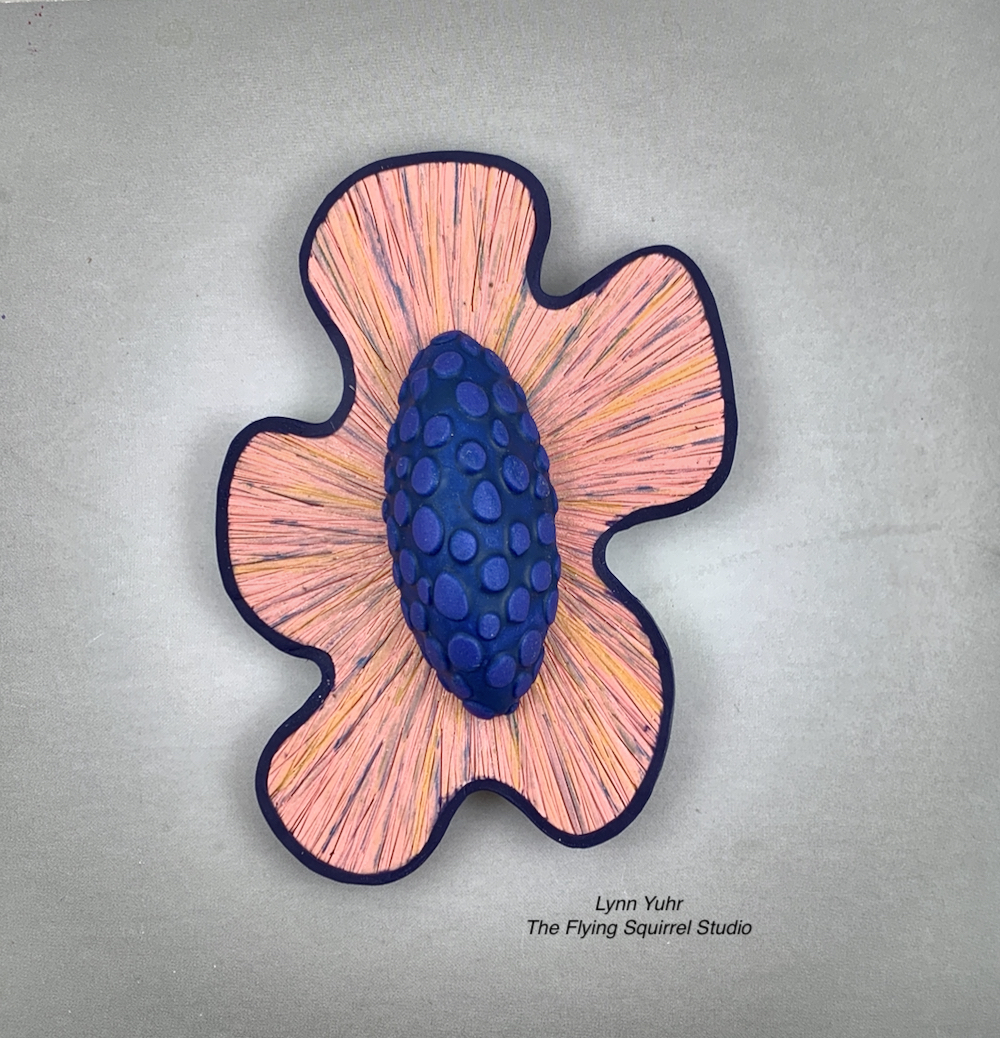
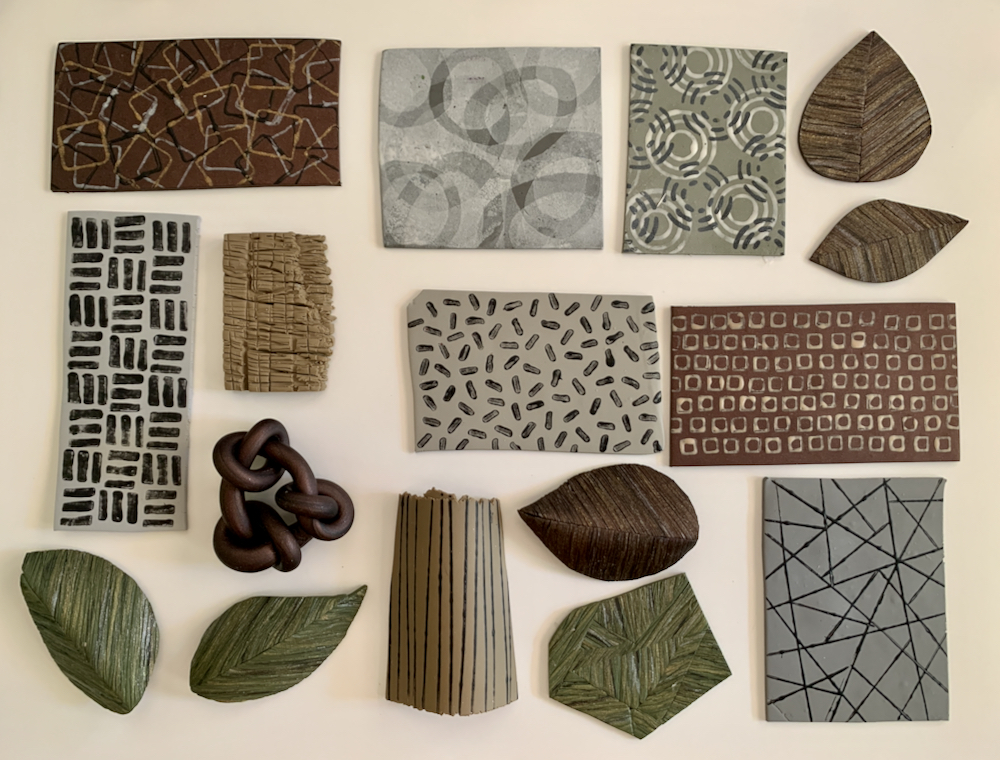
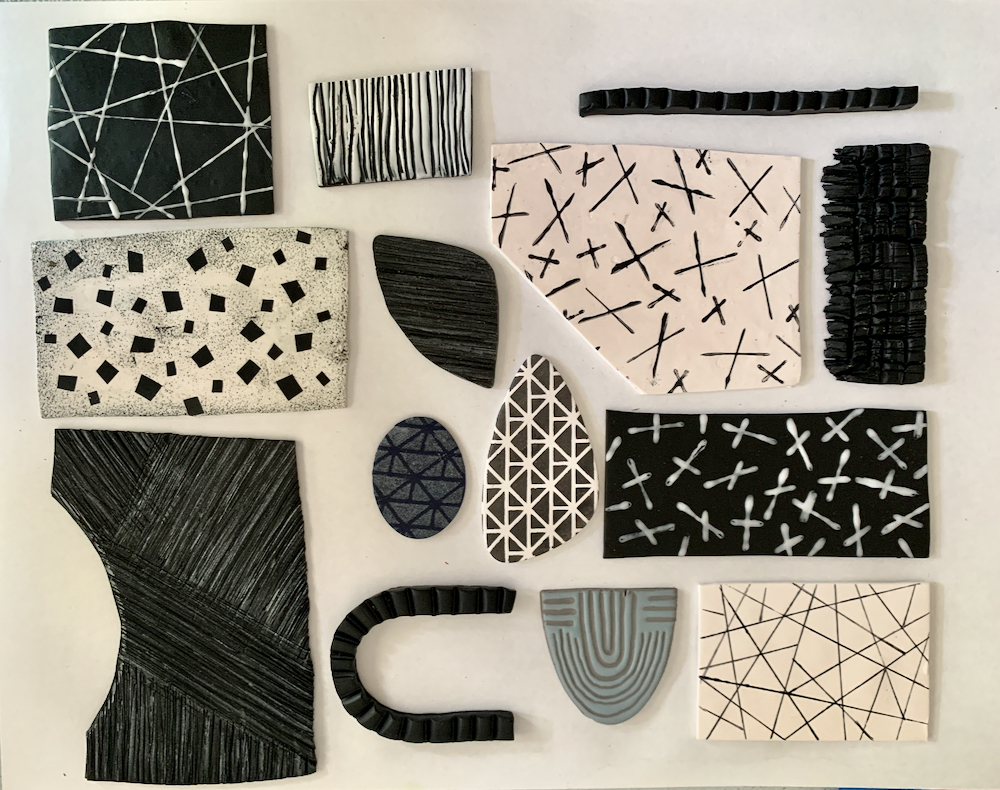
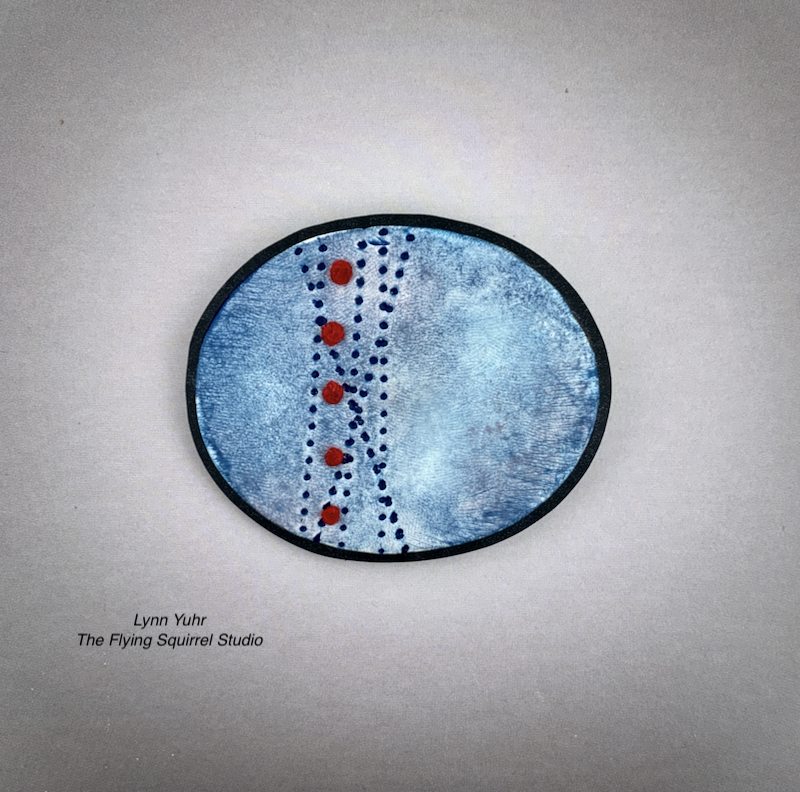
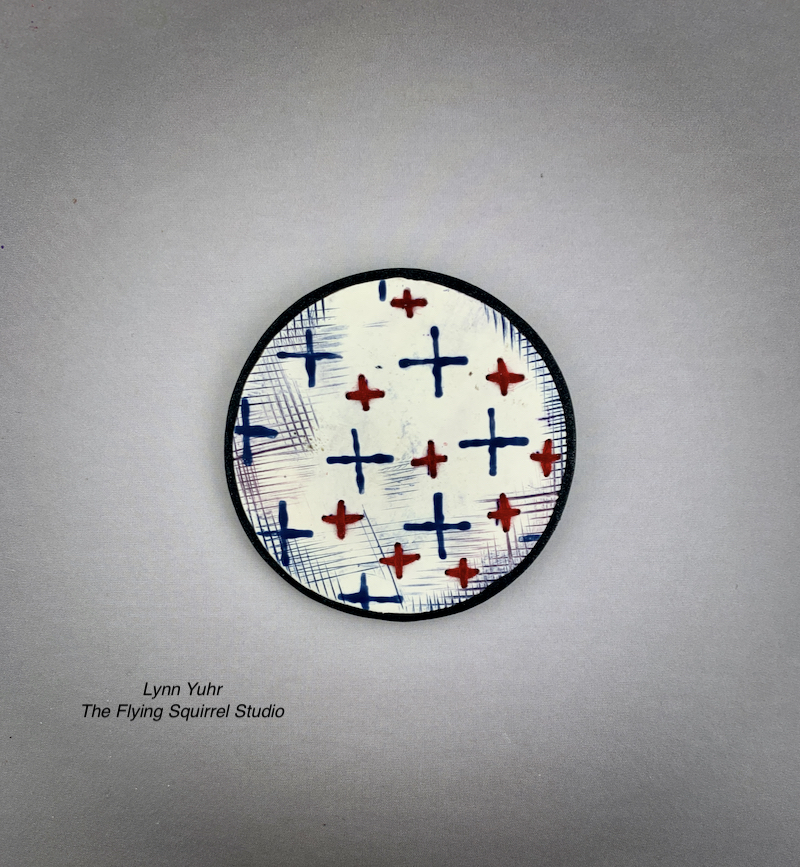
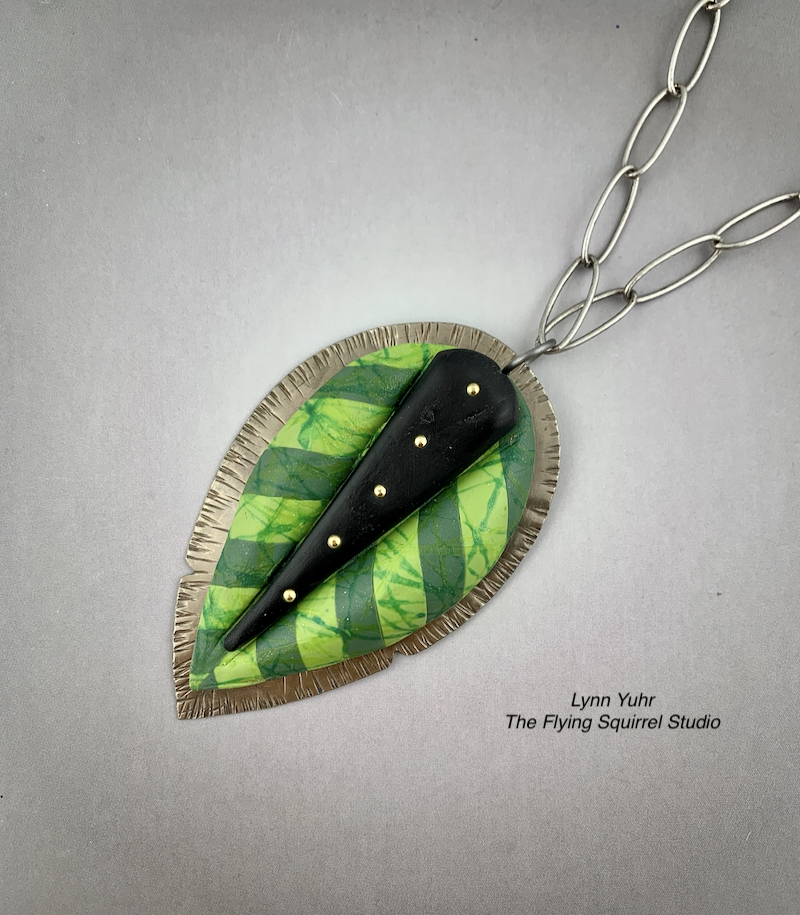
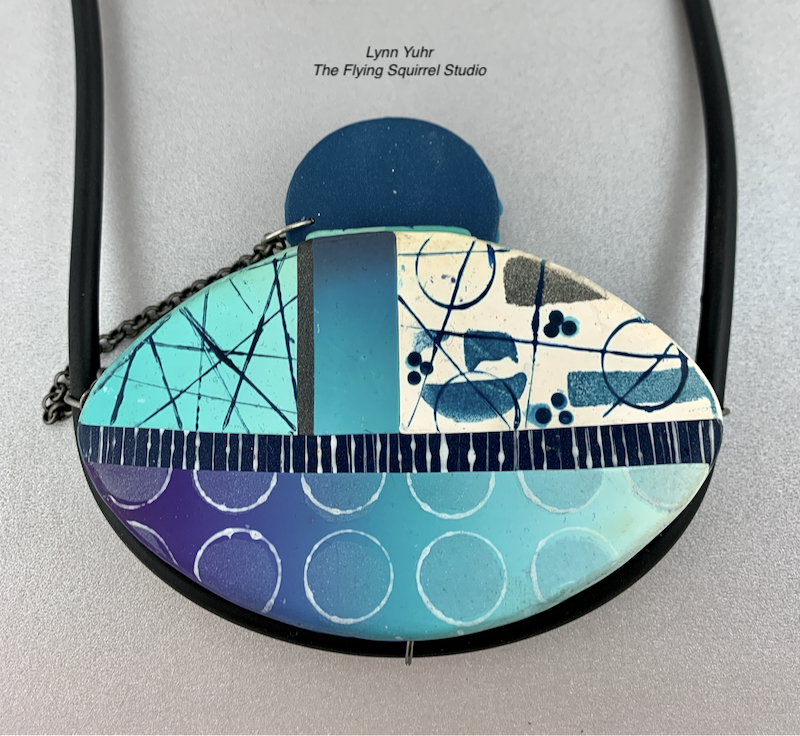
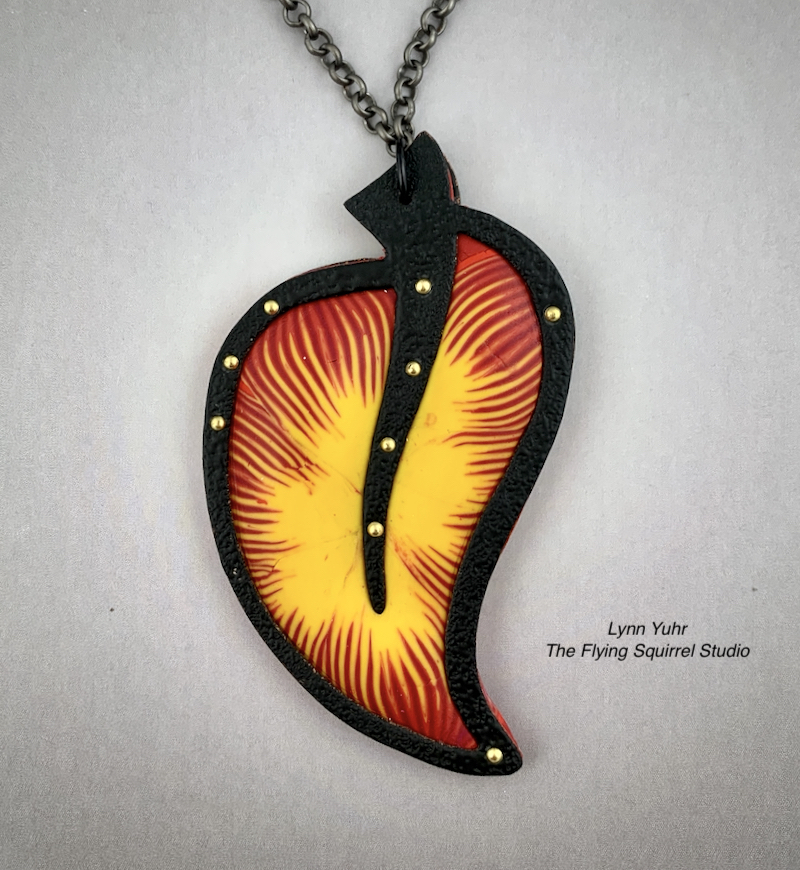
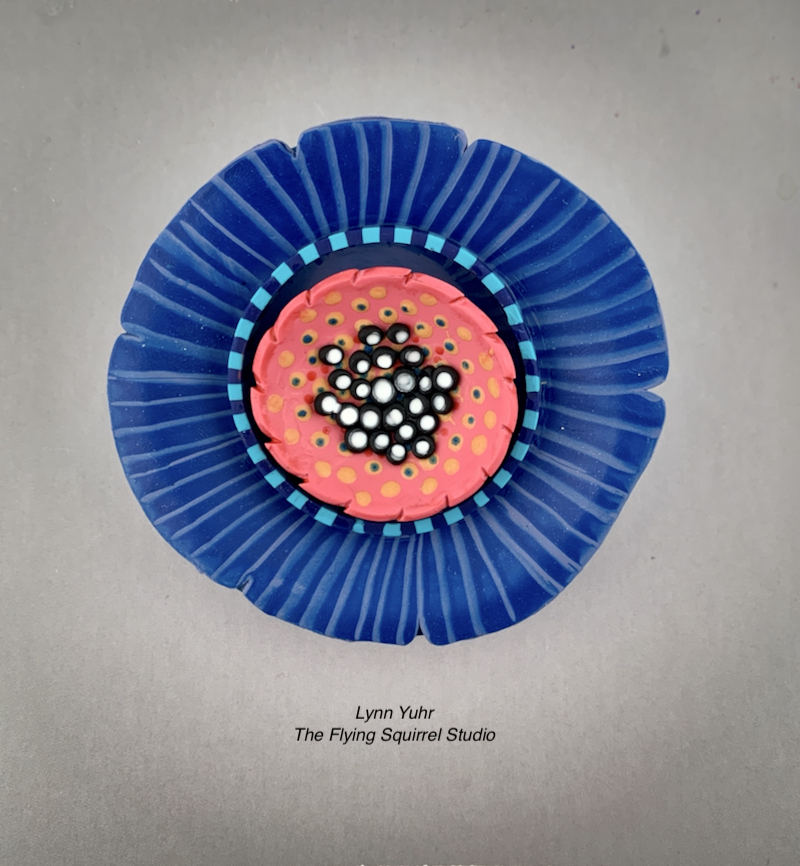
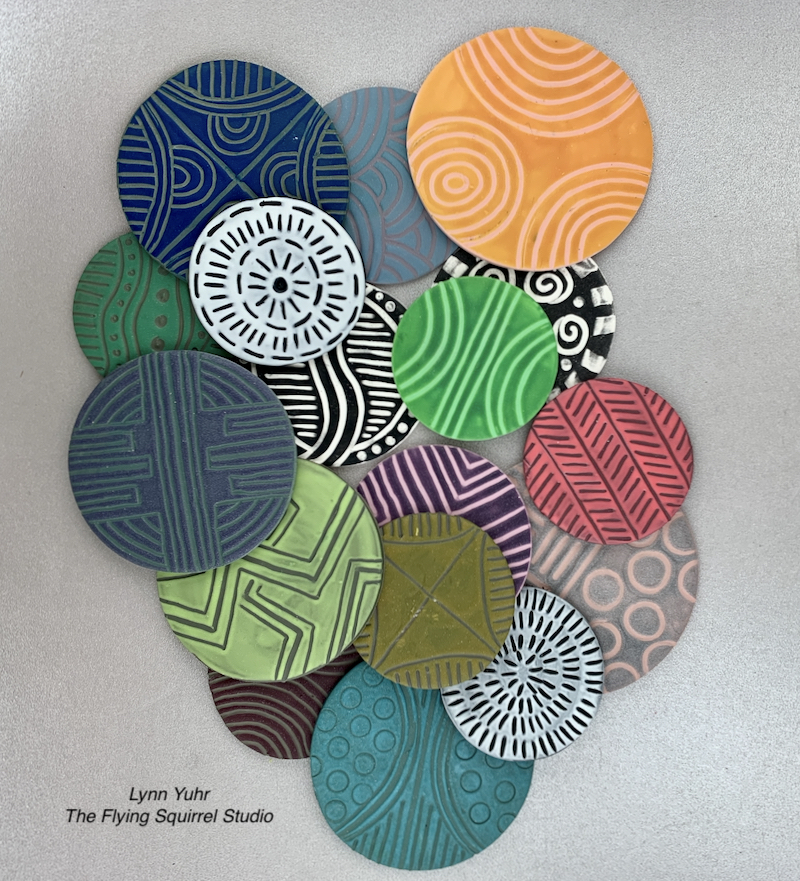
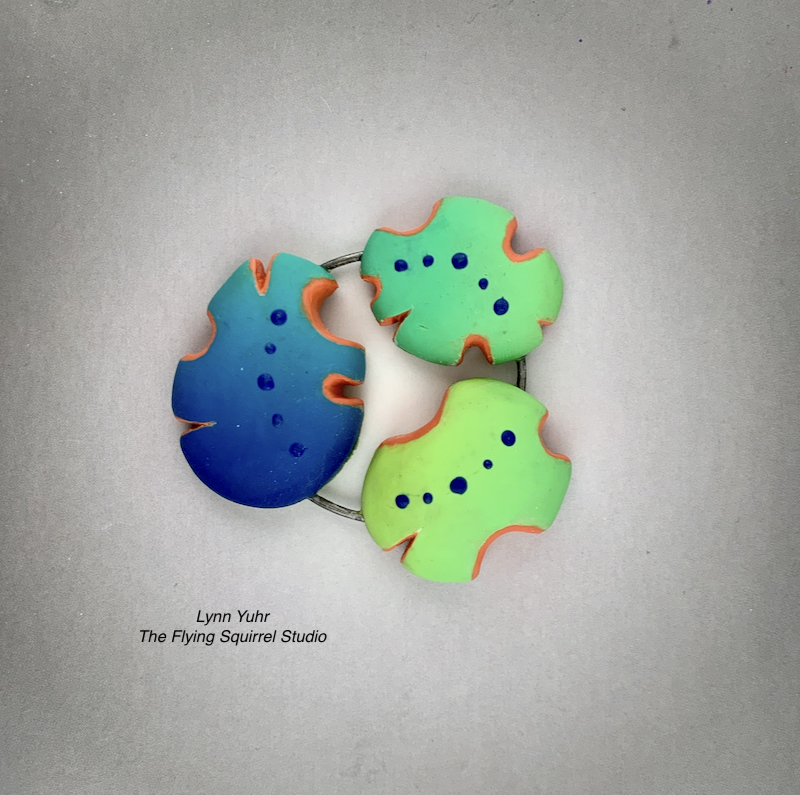
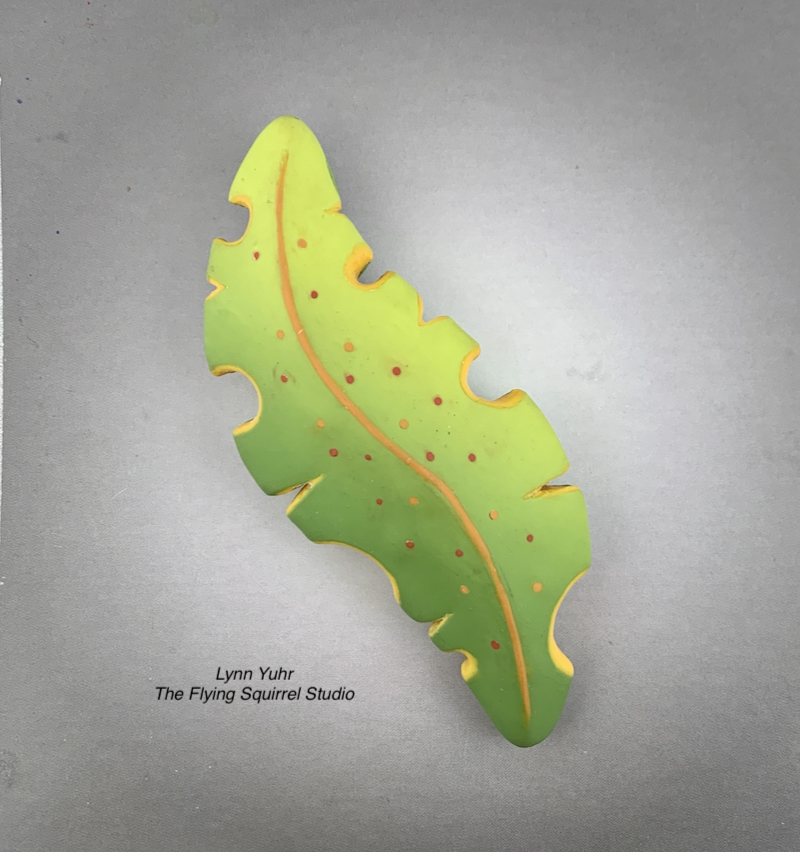
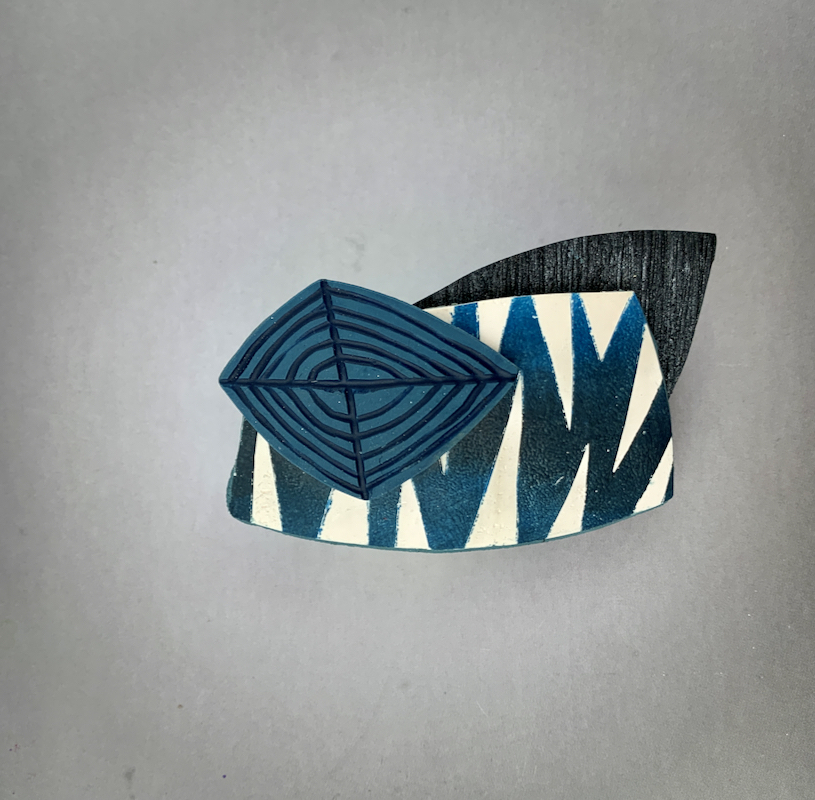
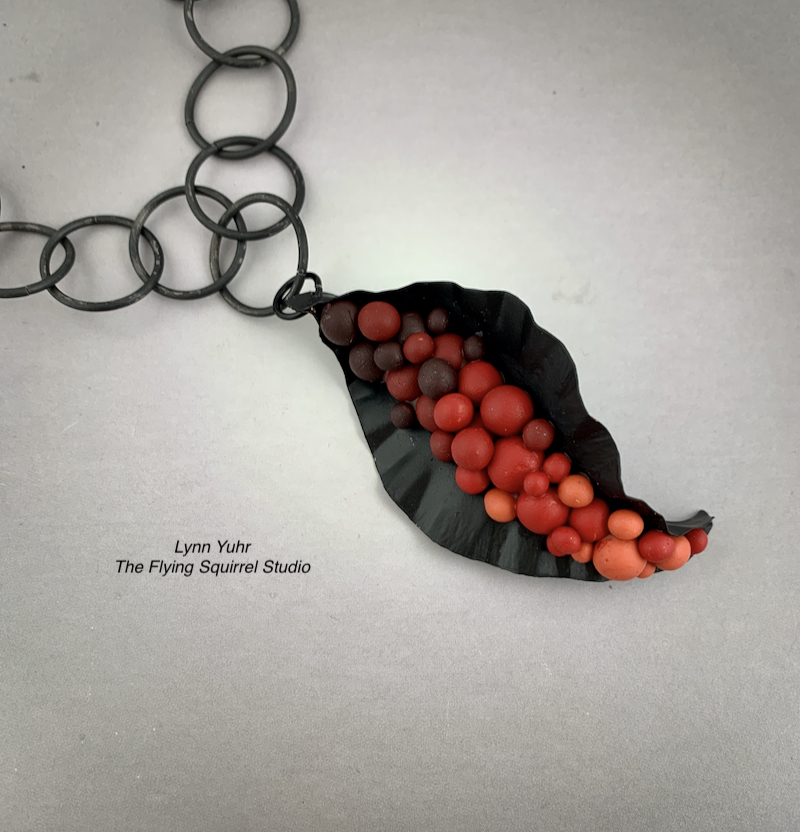
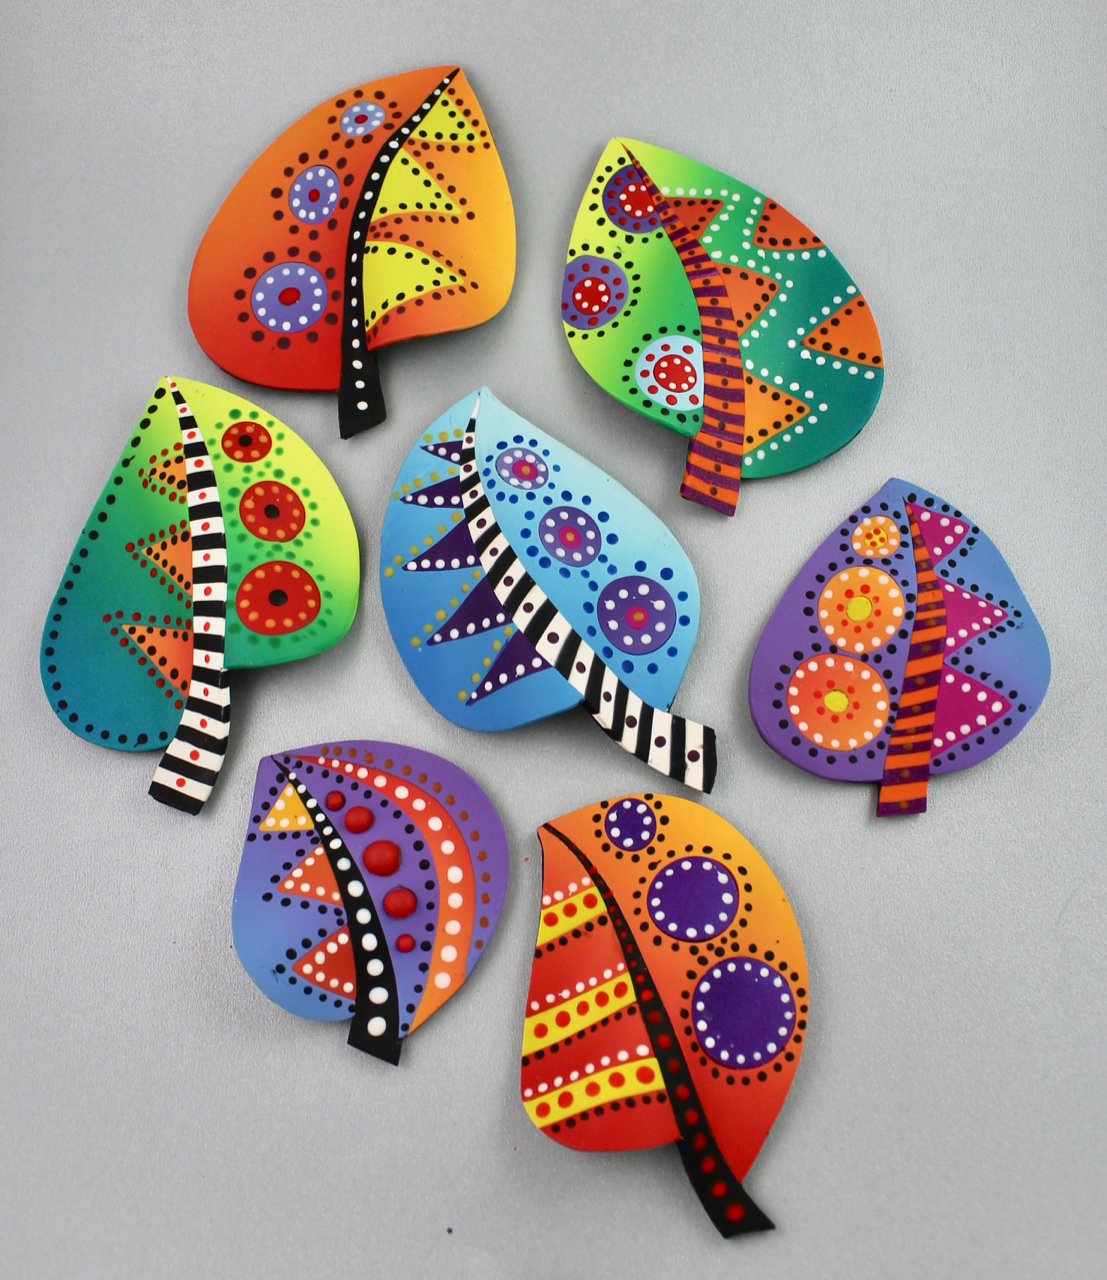
Meditative Magic – August 2, Wednesday: this class plays with color, luscious colors and dips into liquid clay to create a leaf brooch
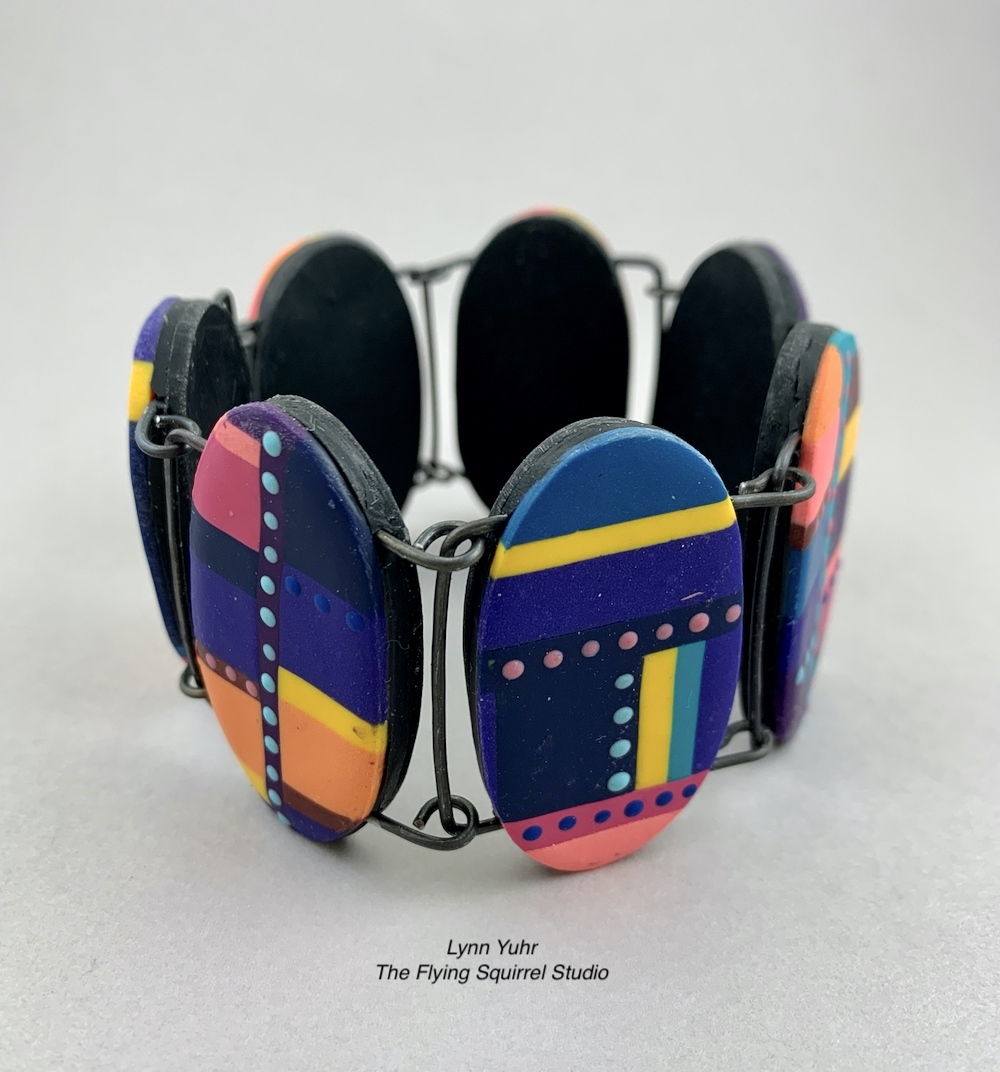
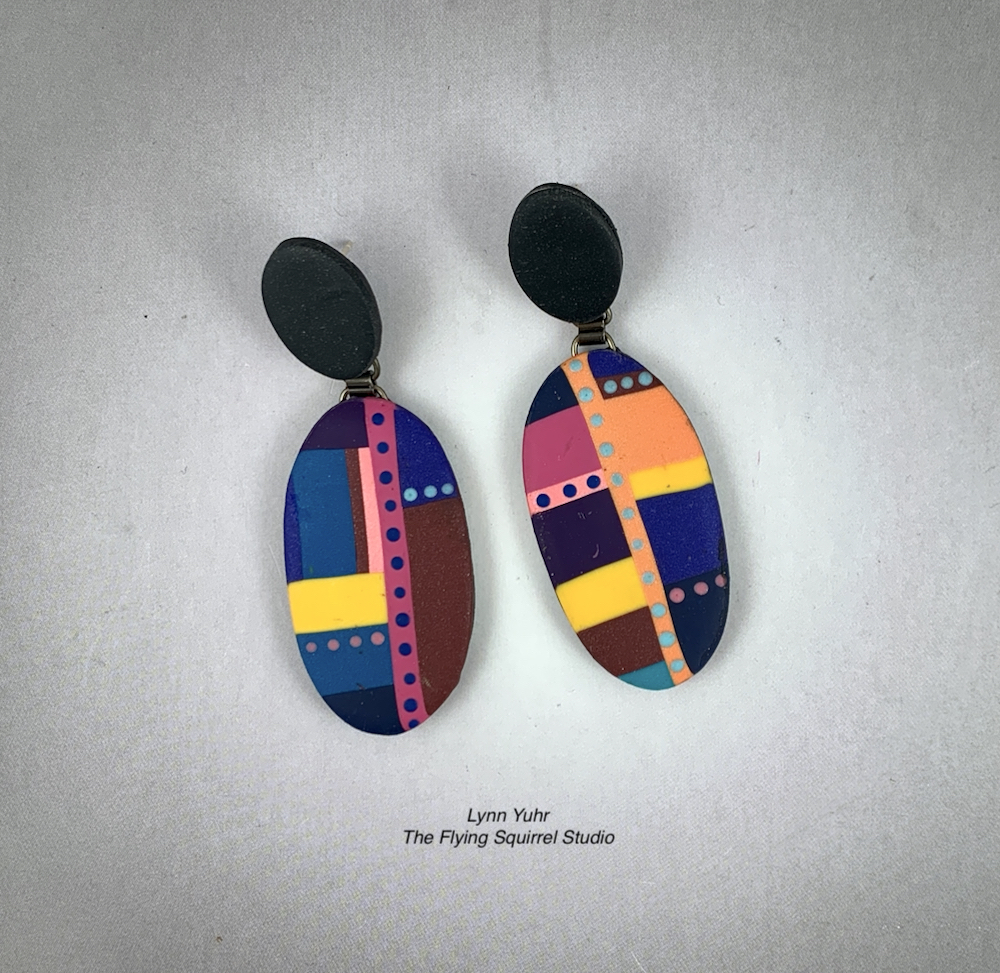
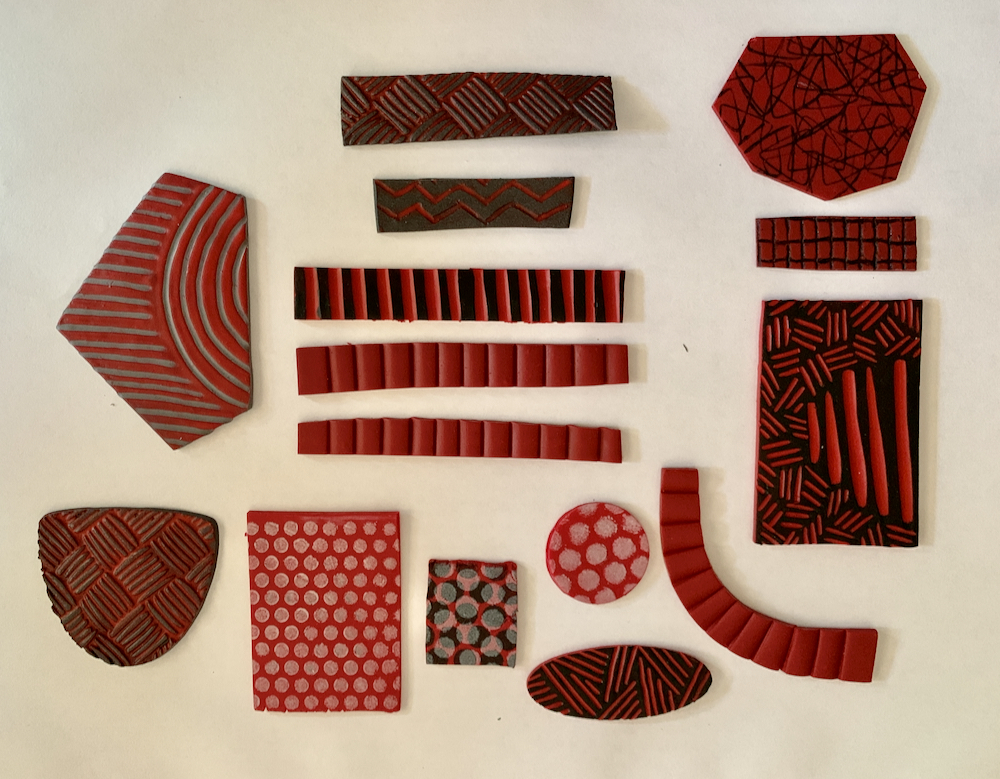
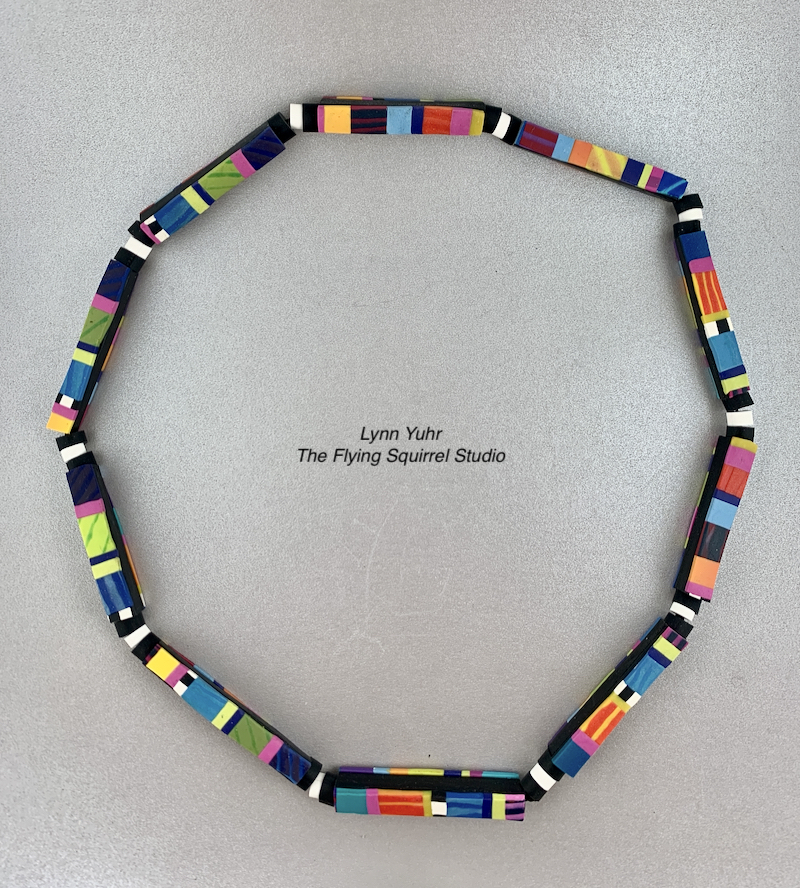
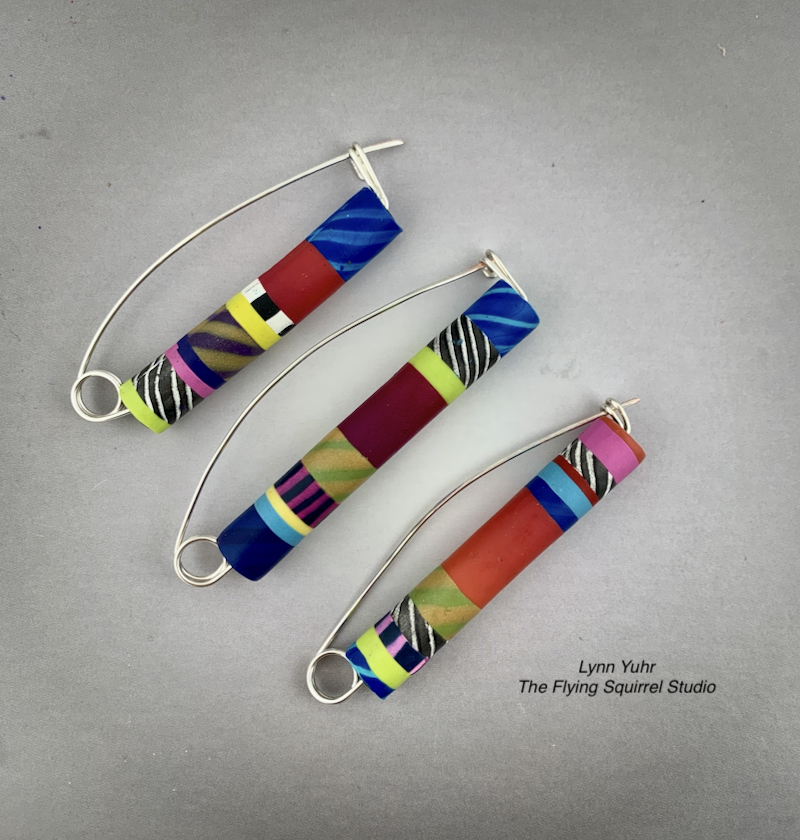
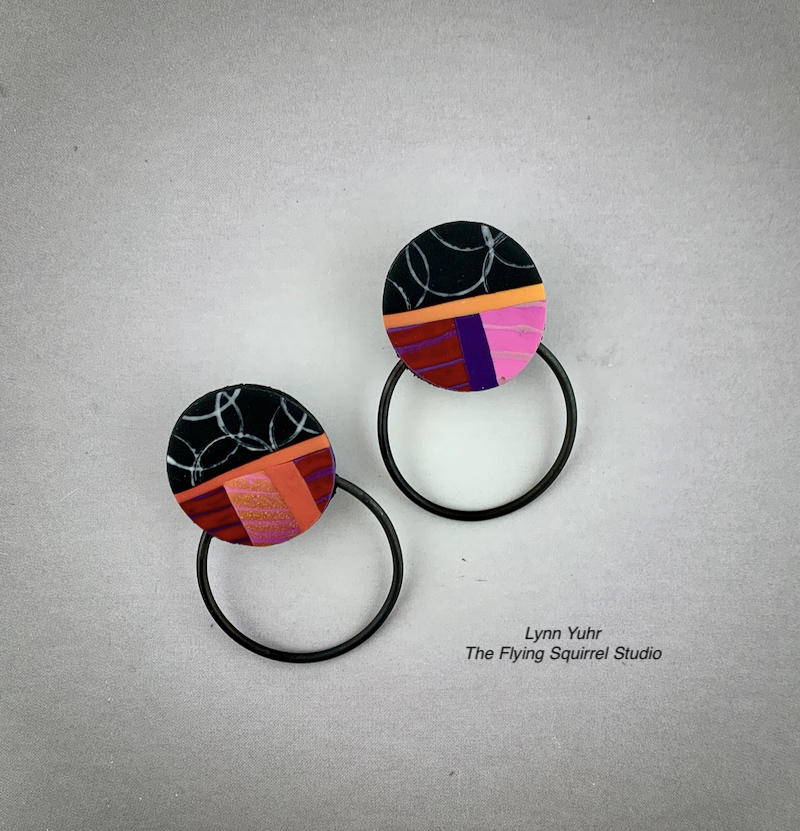
Mod Mondrian-Inspired Lariats – August 3rd, Thursday: this class is a beginner caning clay, where we play with scale and construct a unique lariat

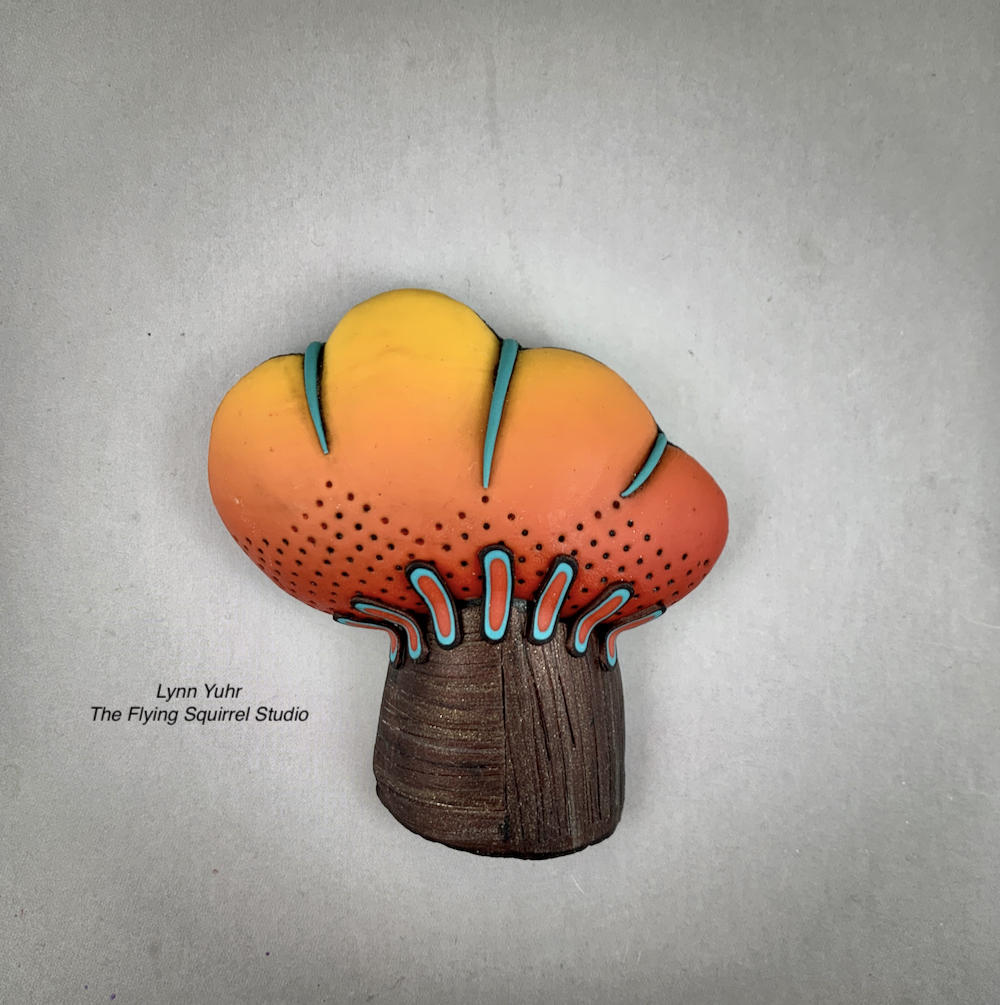
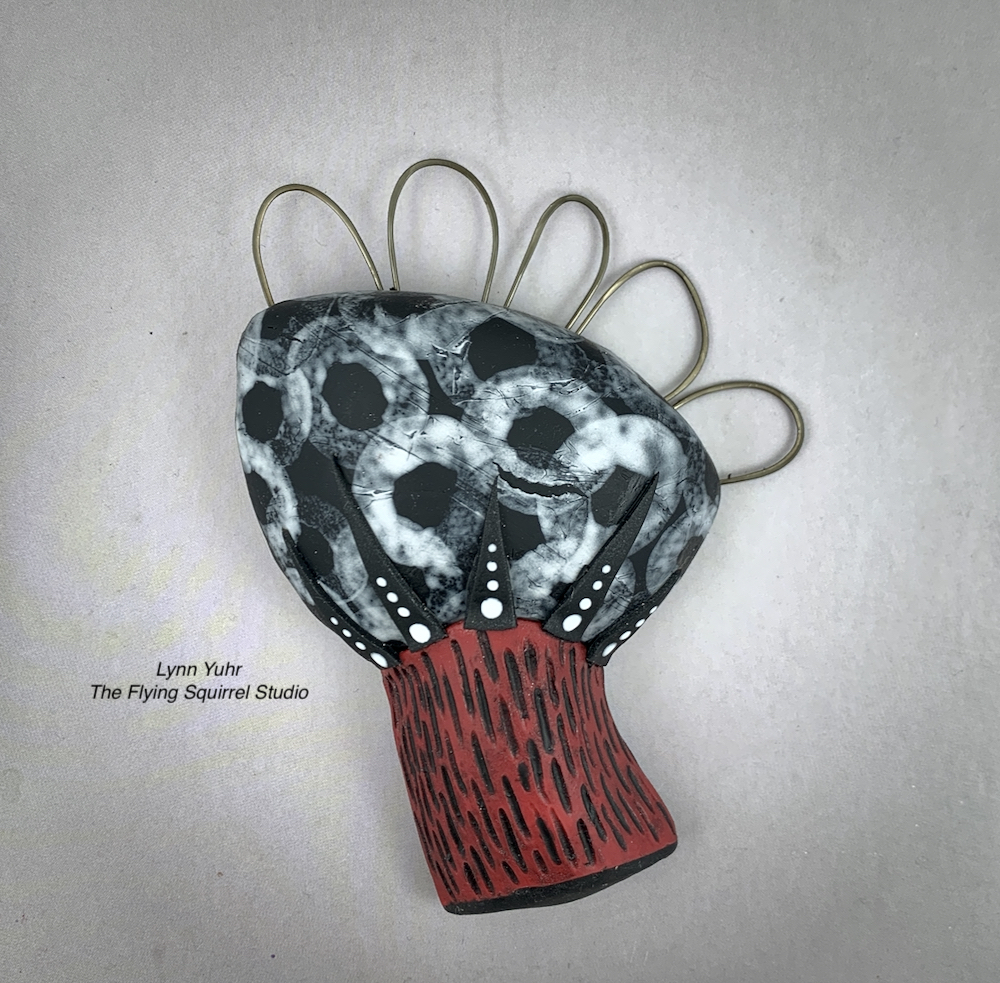
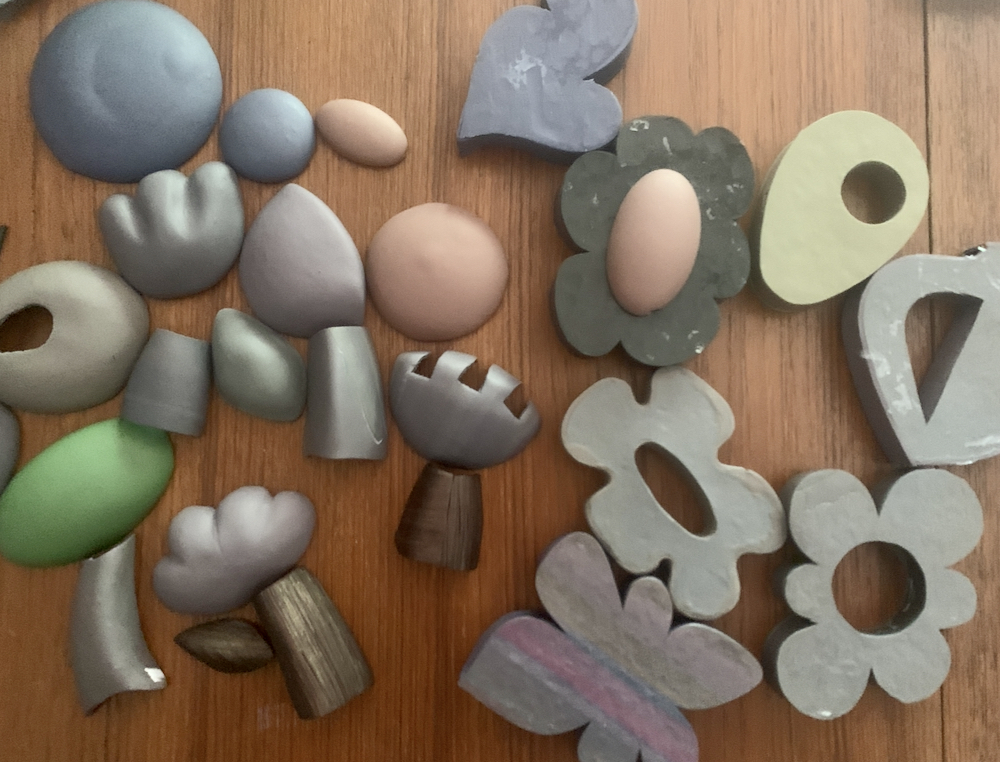
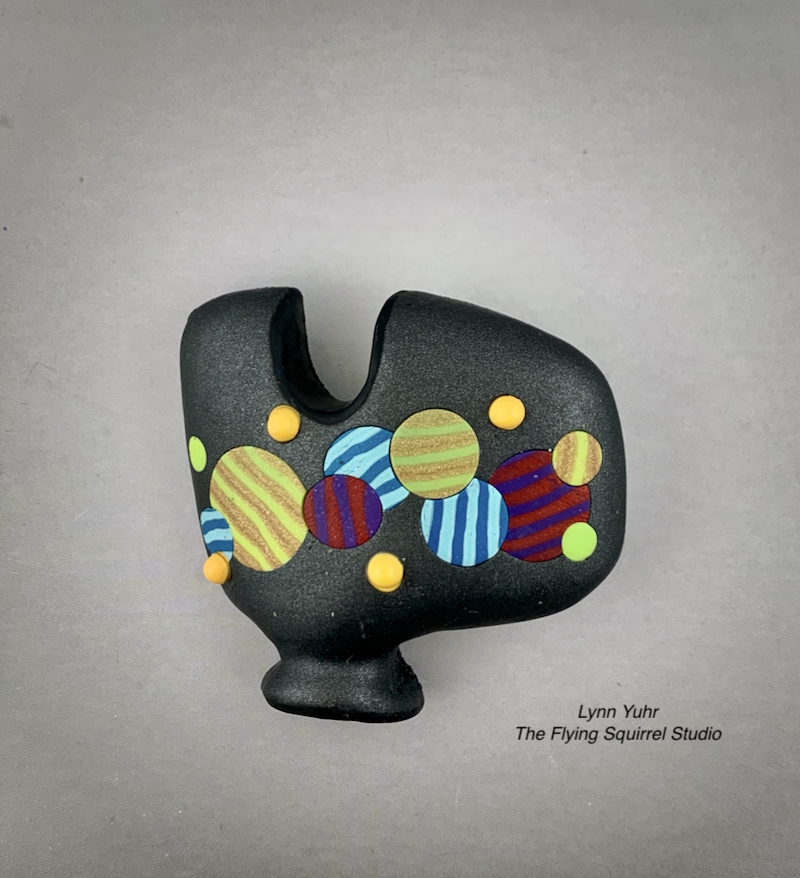
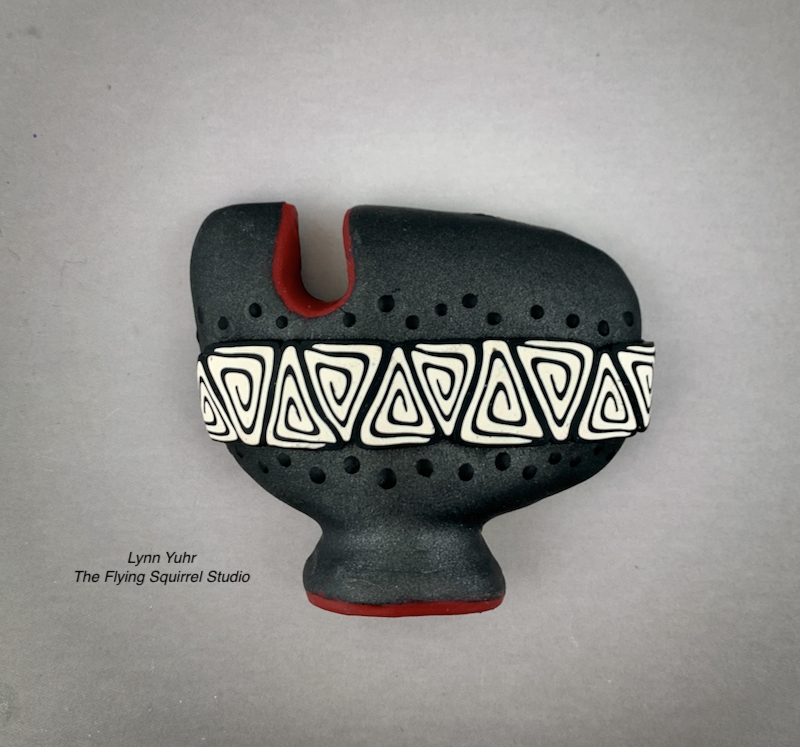
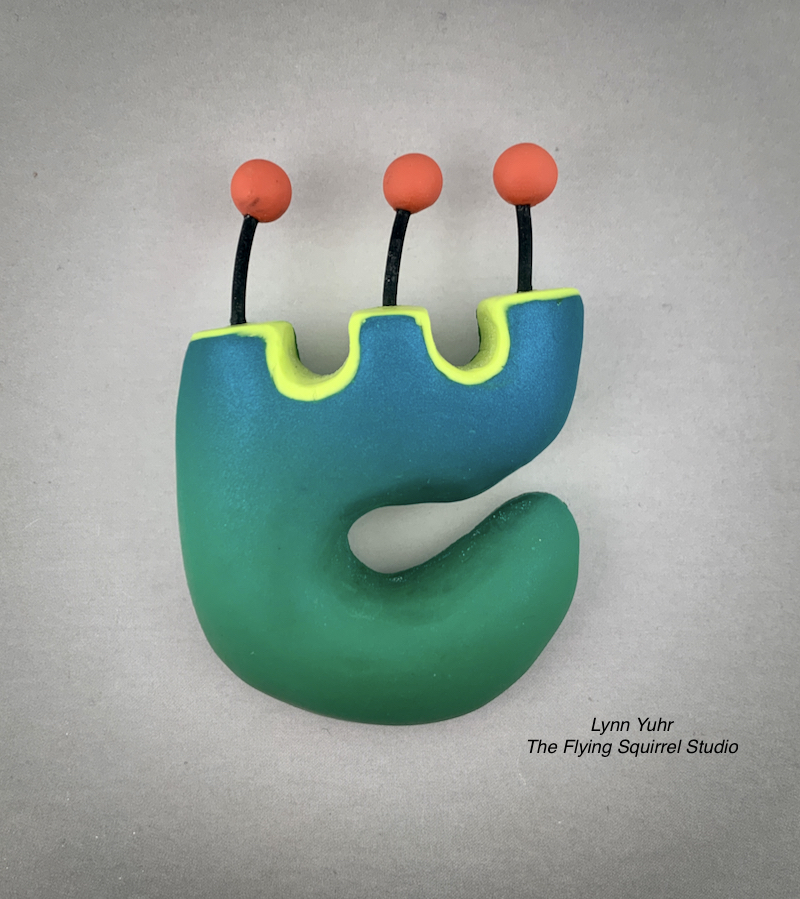
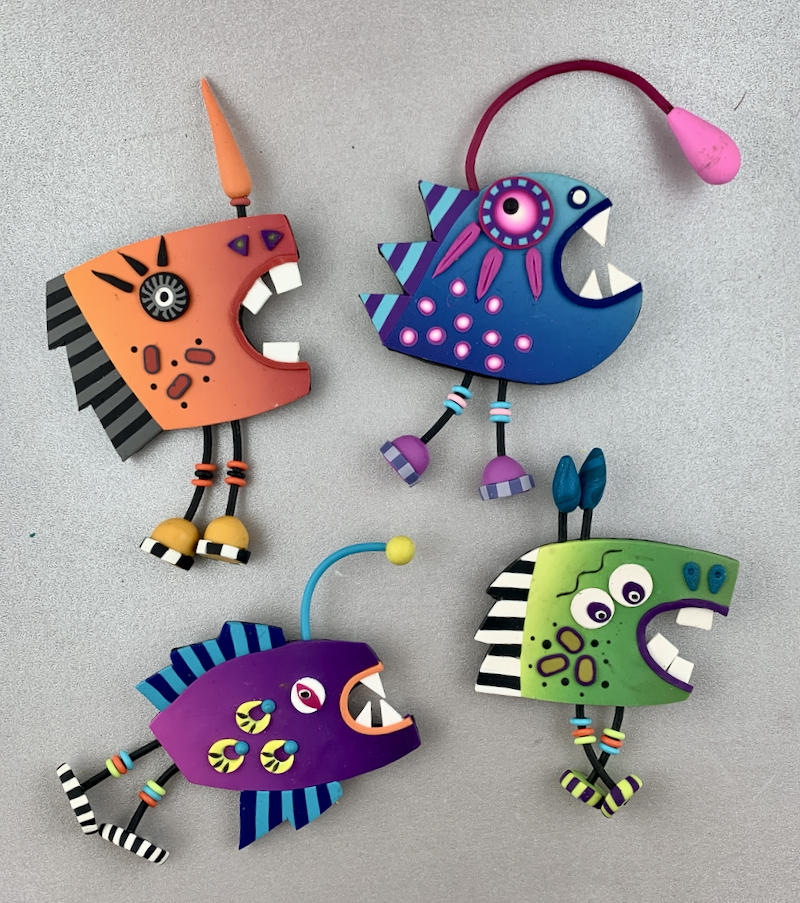
Little Beasties – August 4th Friday: this class is simply fun, building a little beastie full of character that can brighten anyone’s day
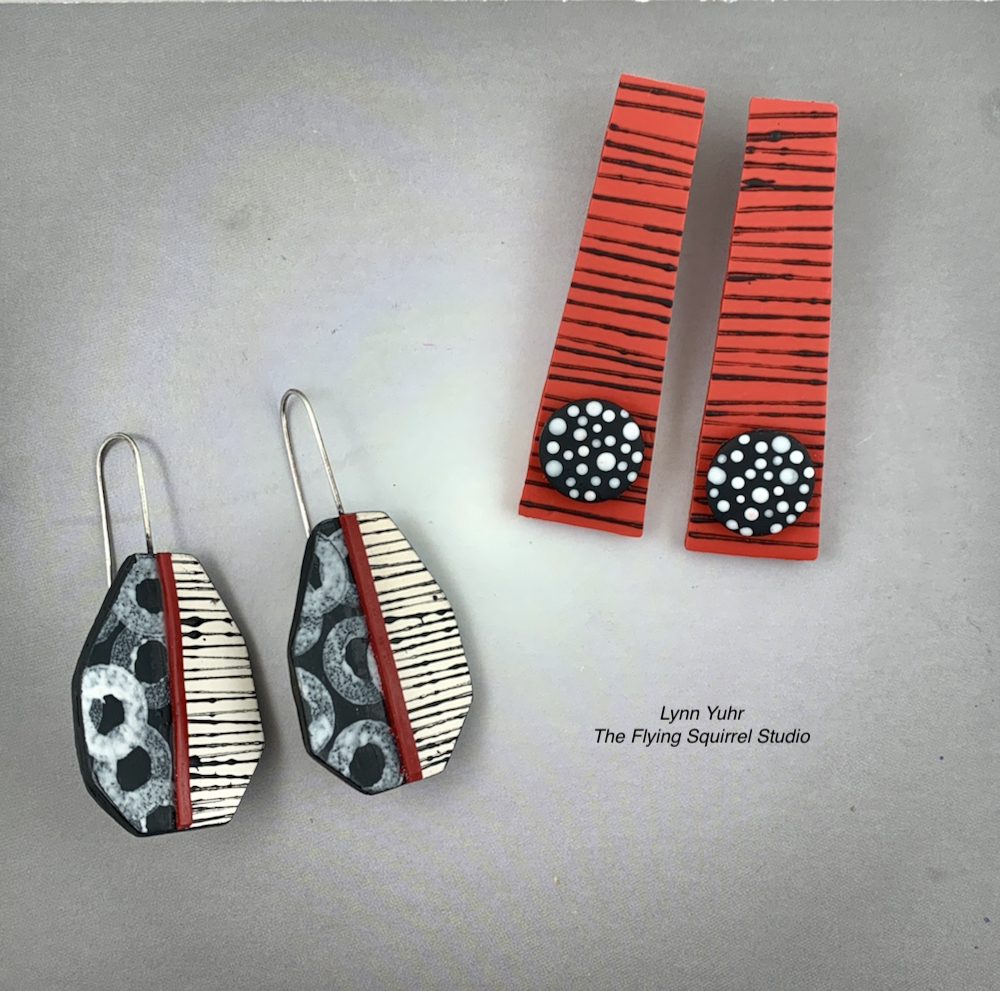
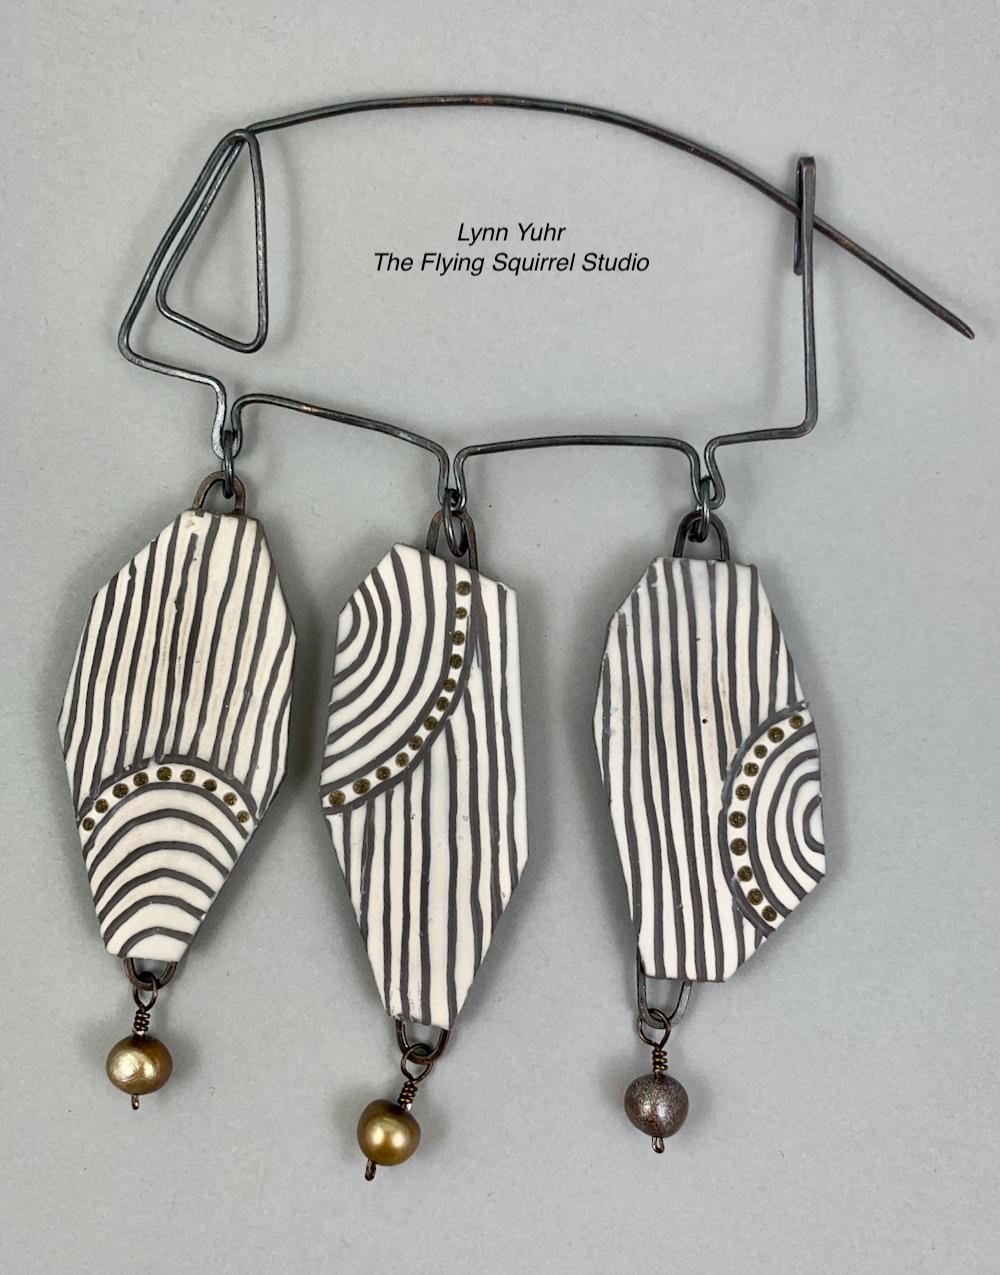
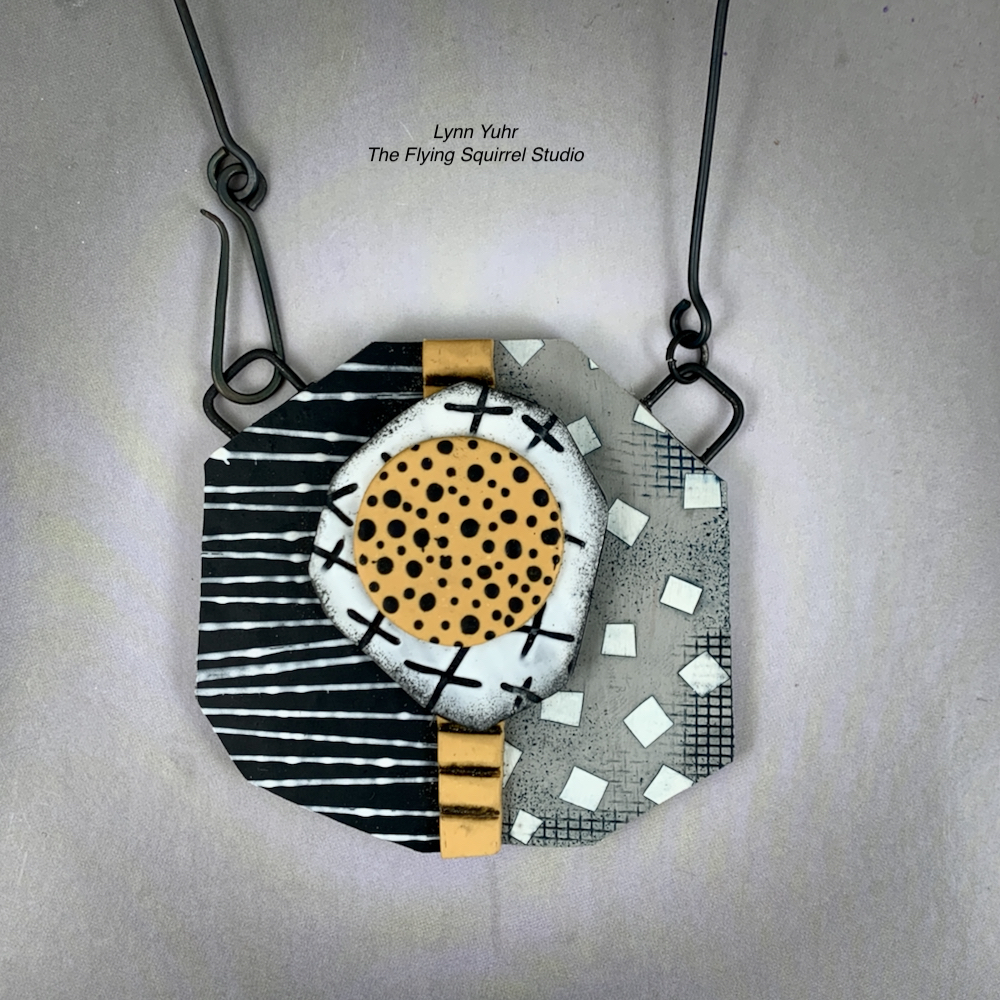
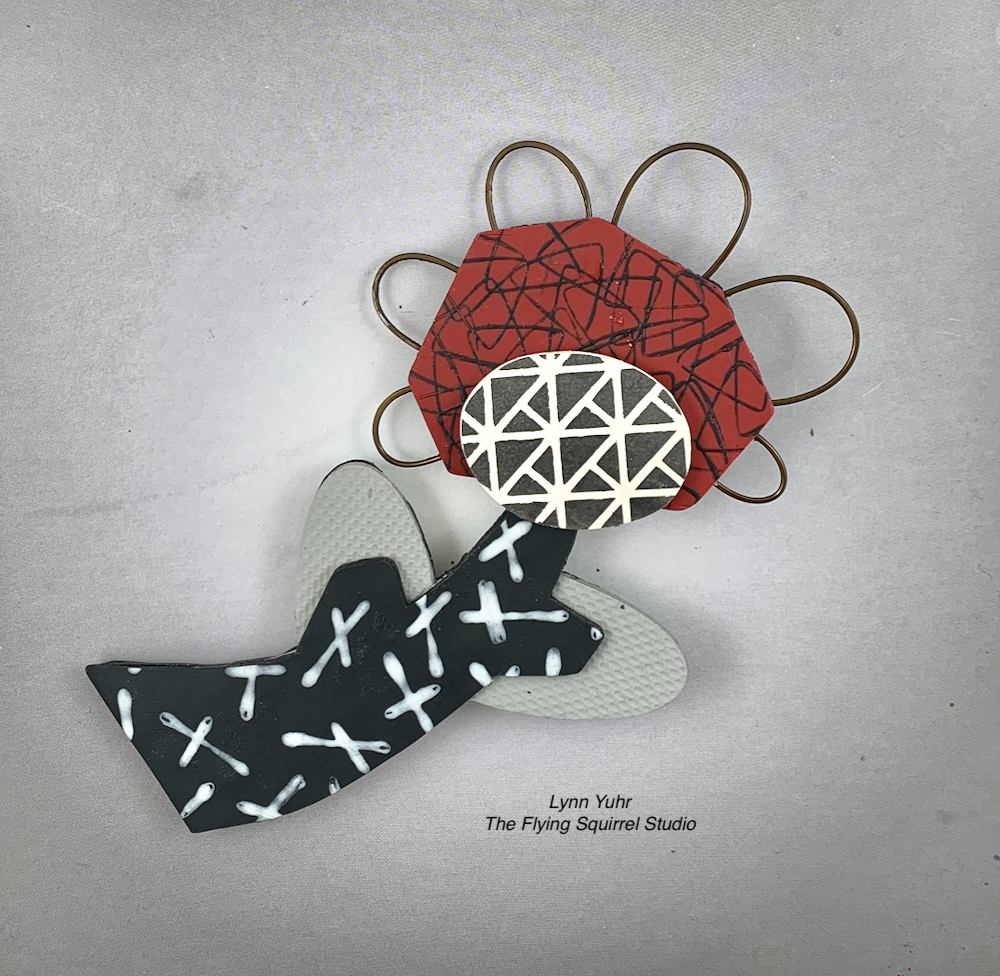
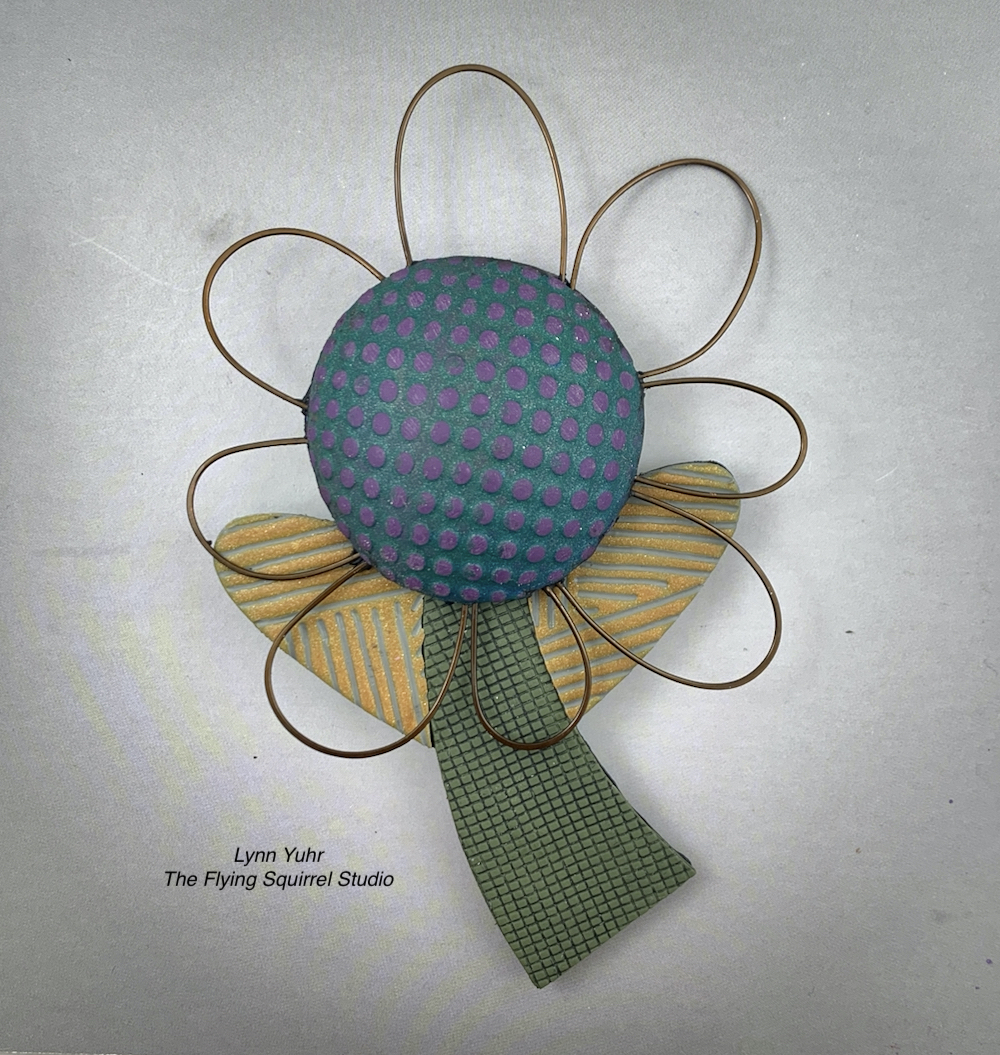
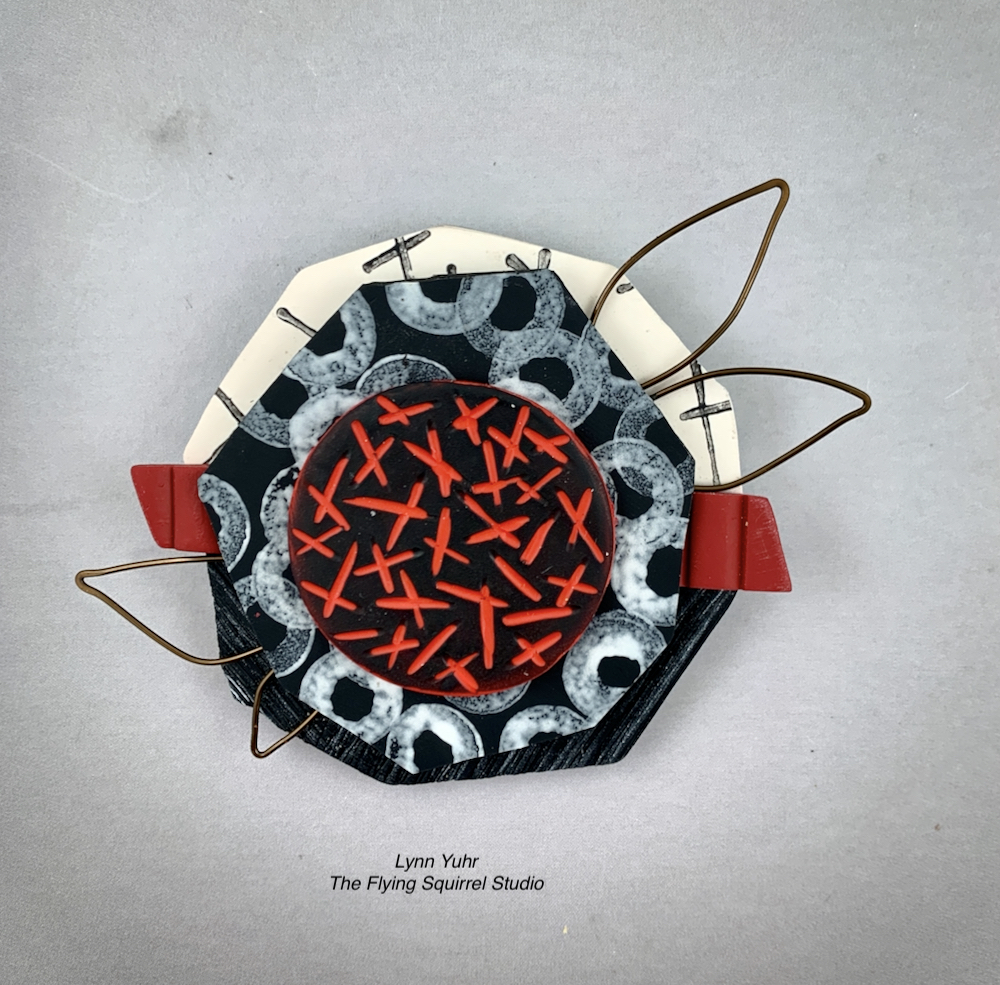
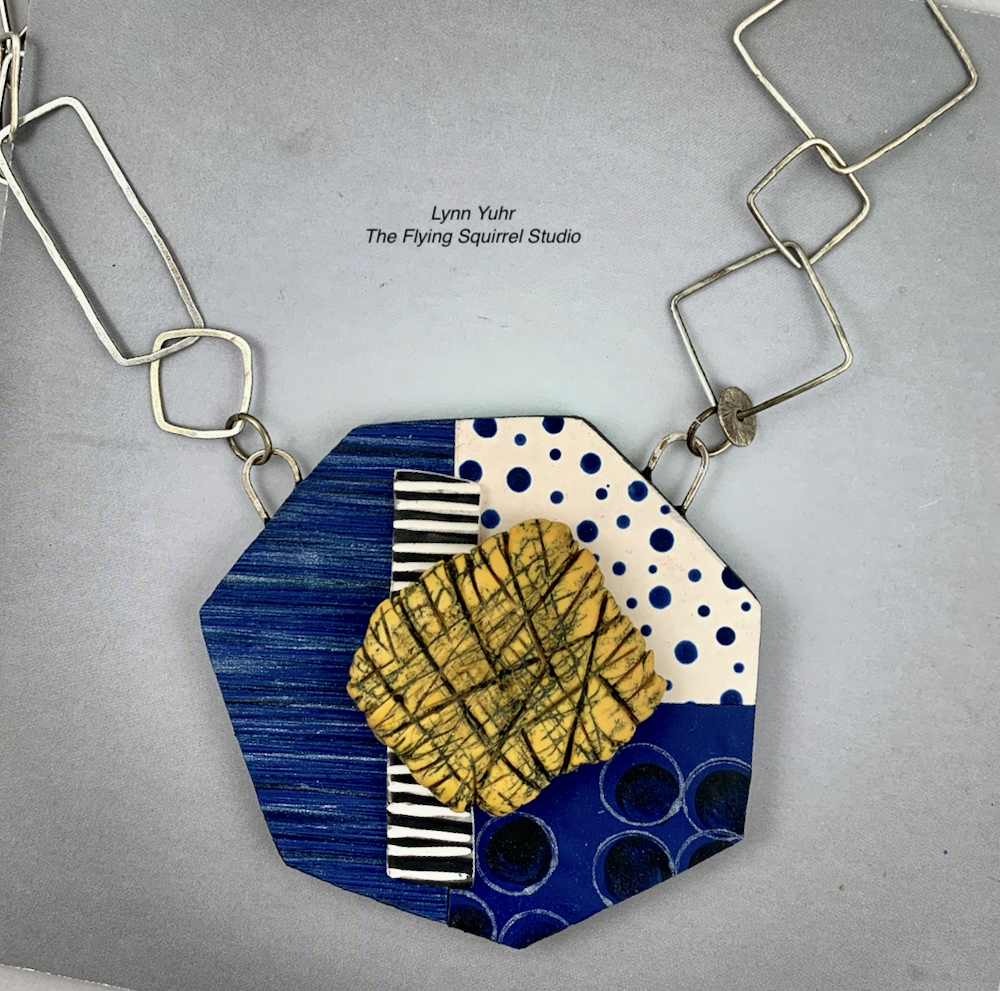
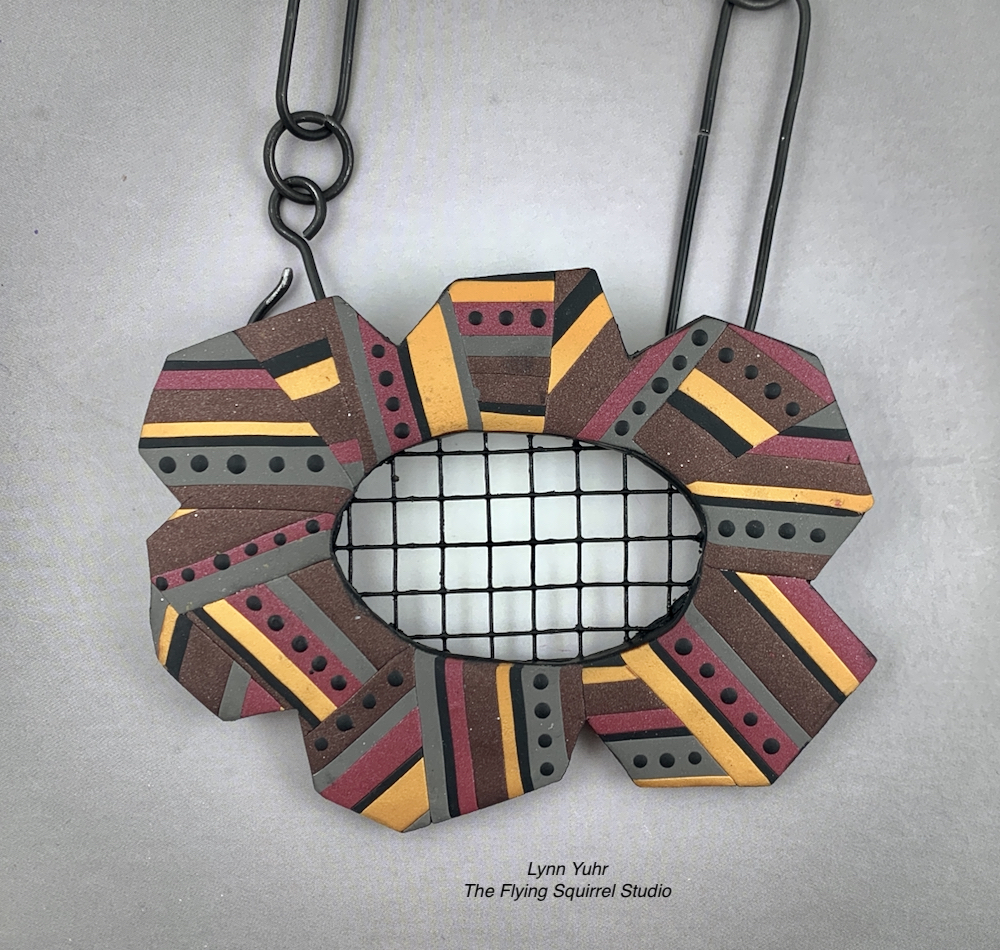
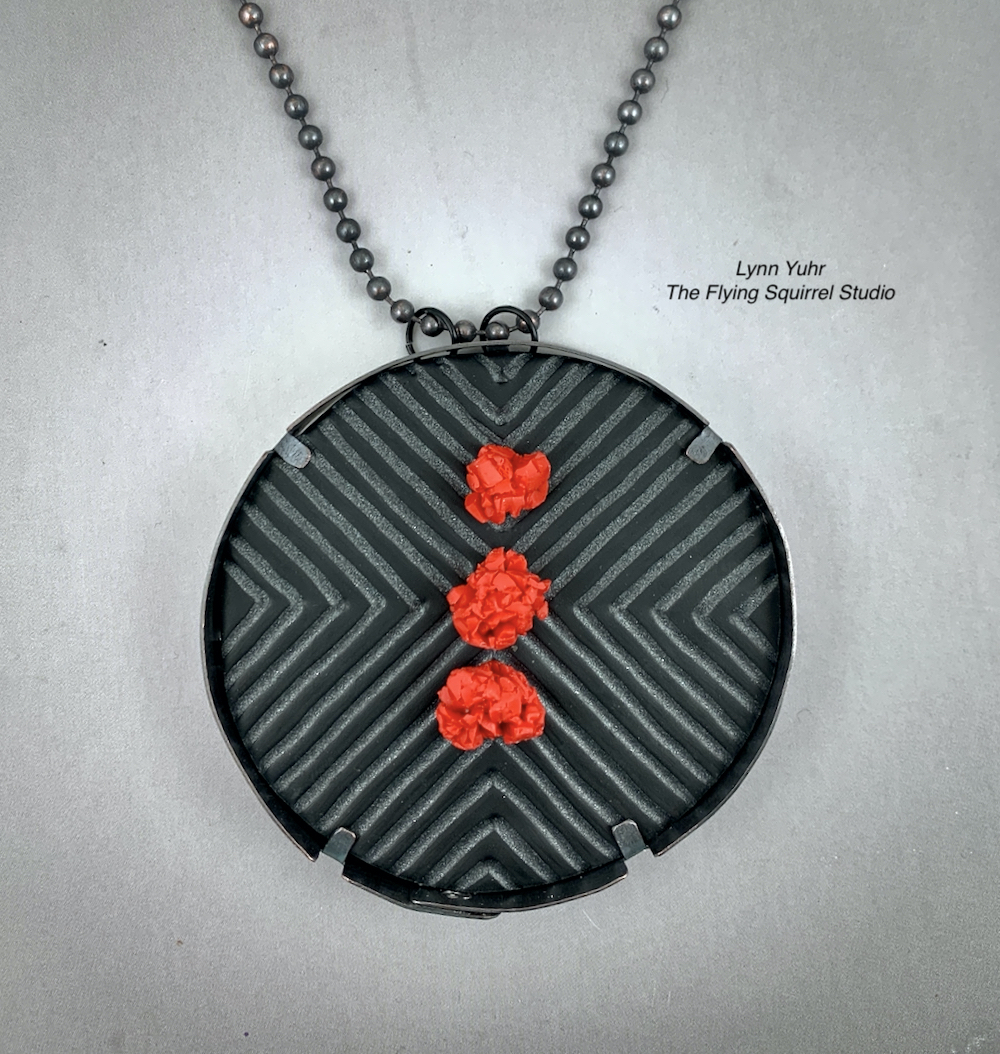
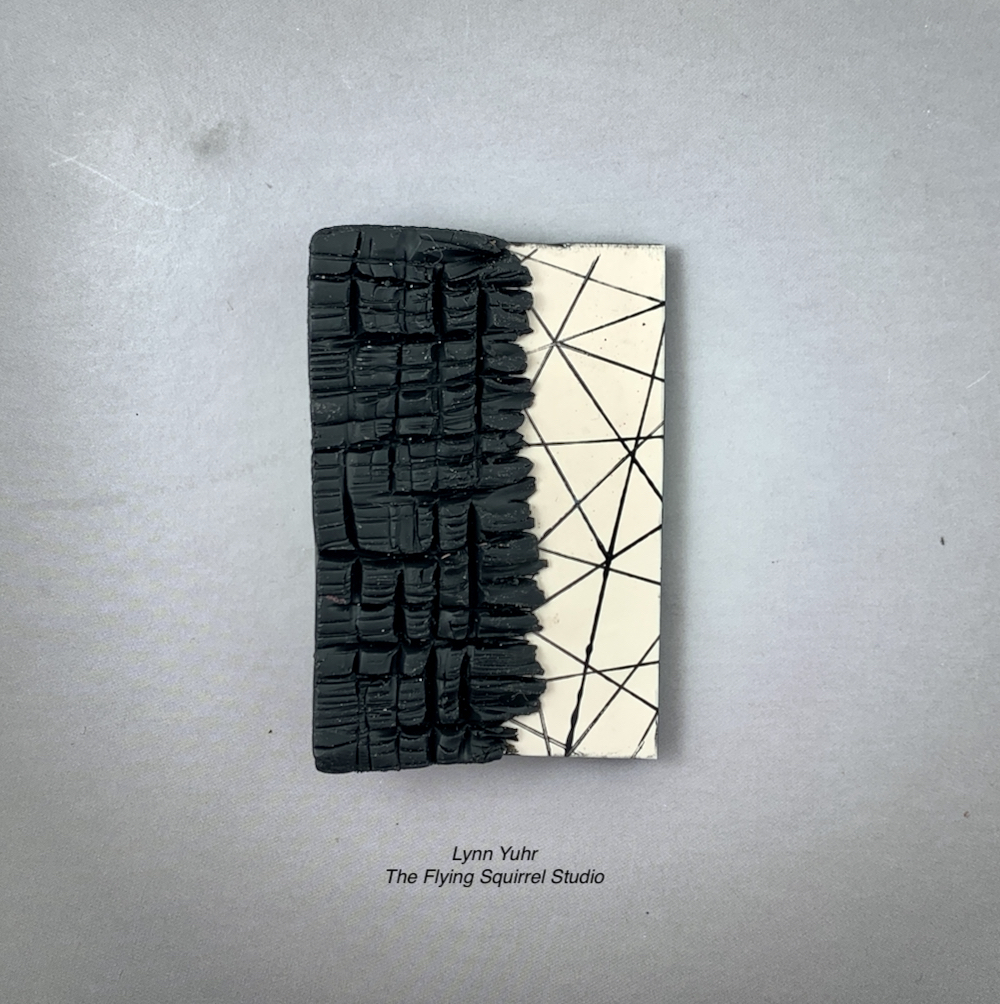
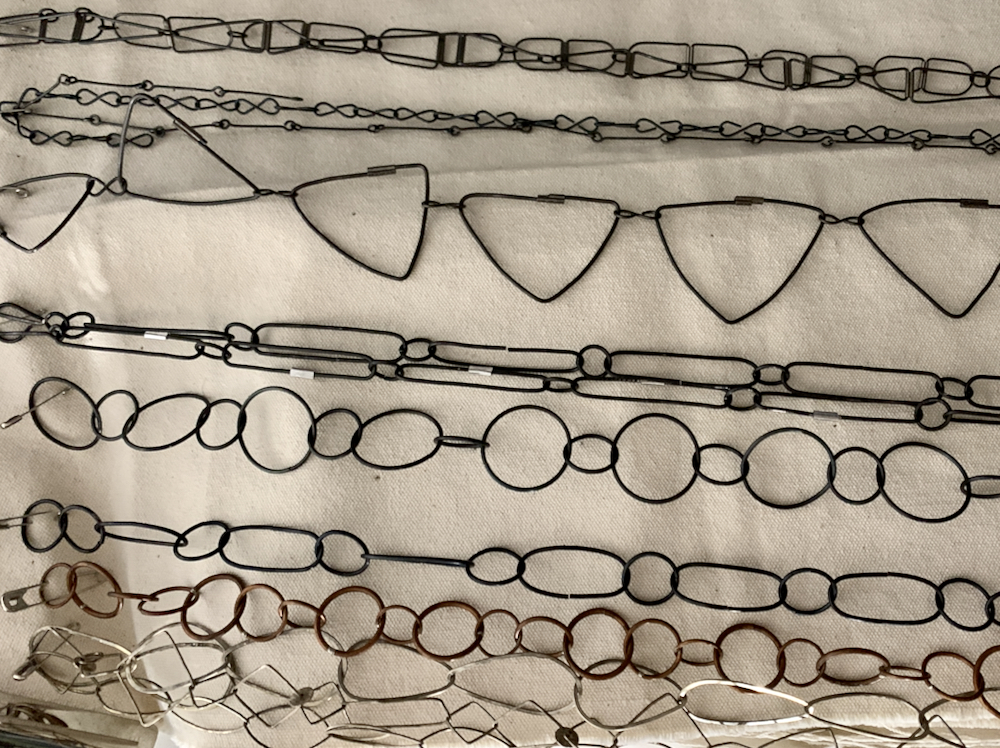
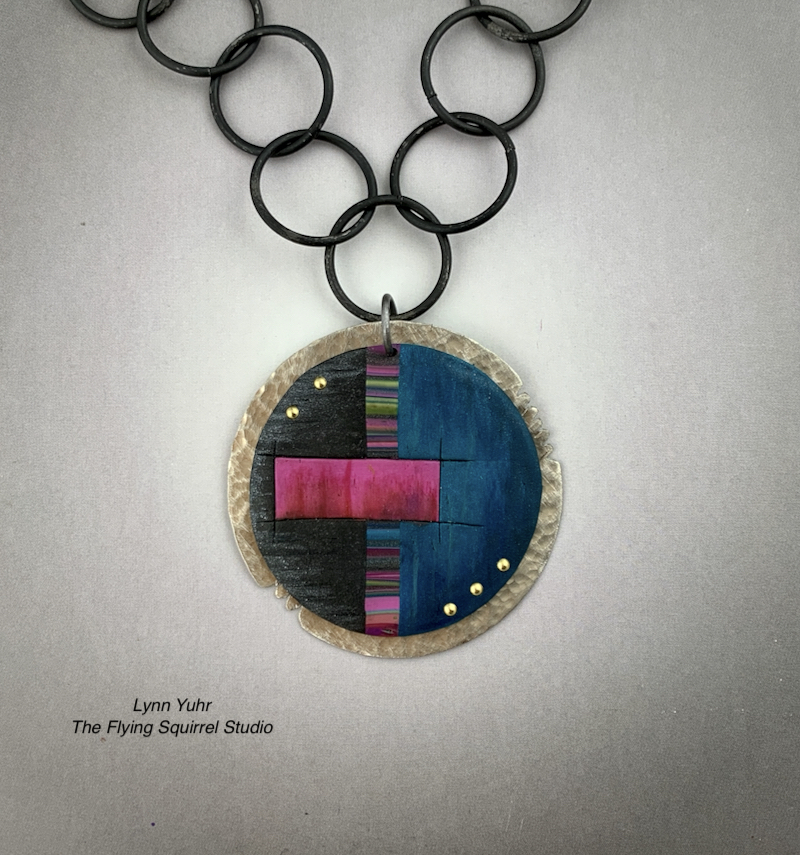
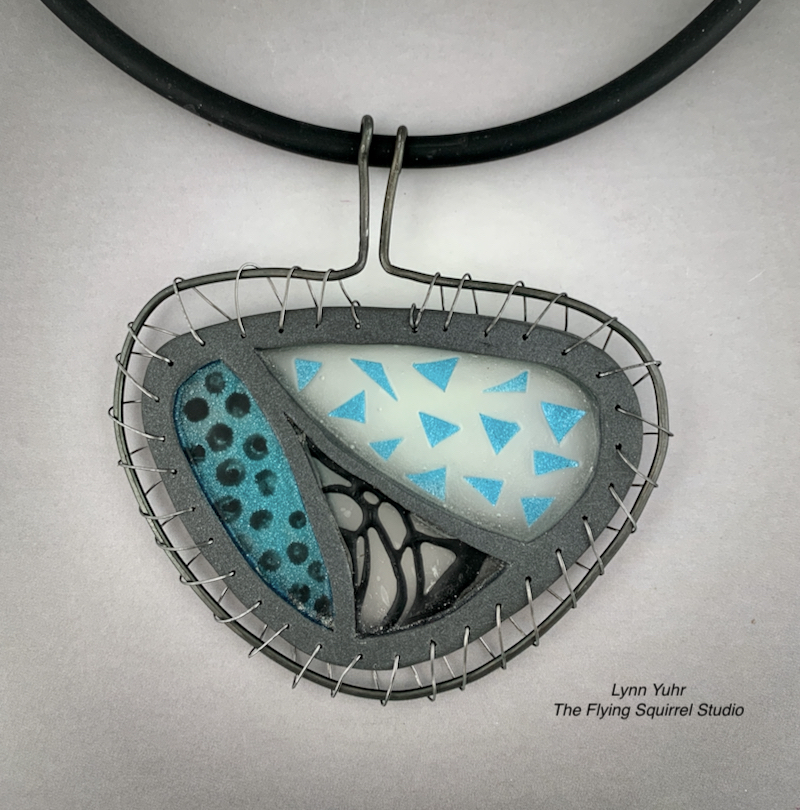
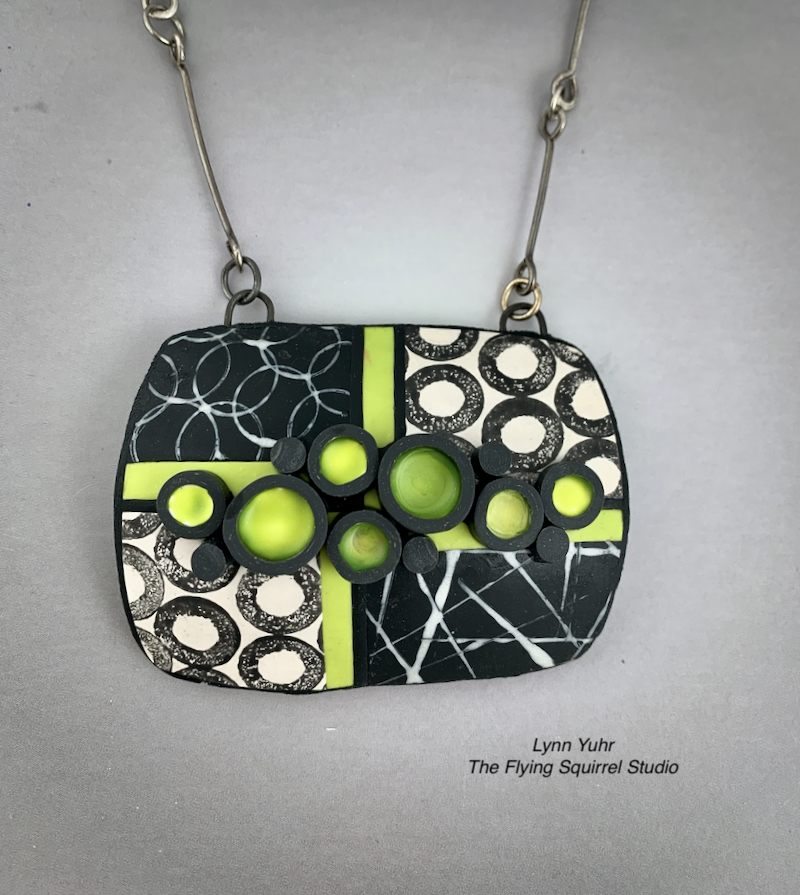
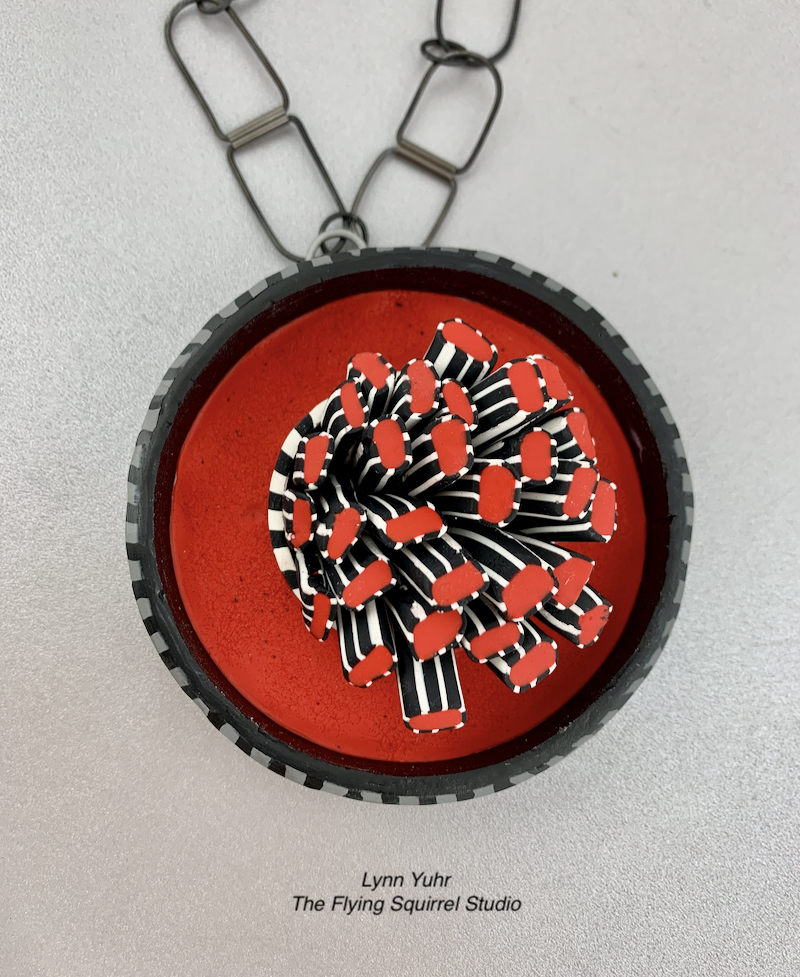
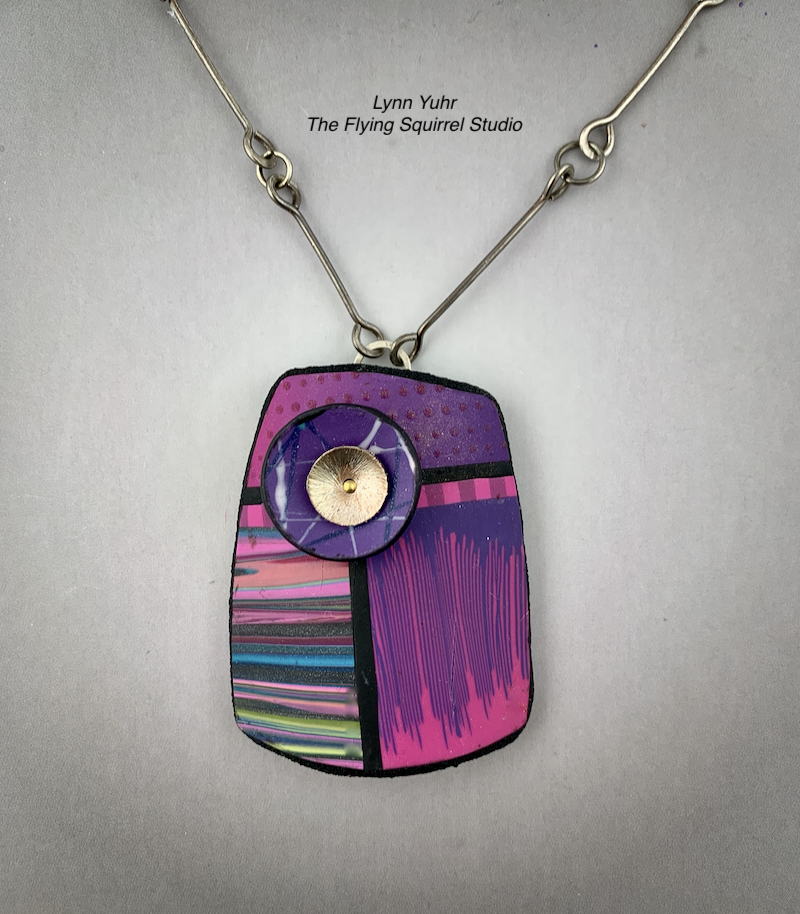
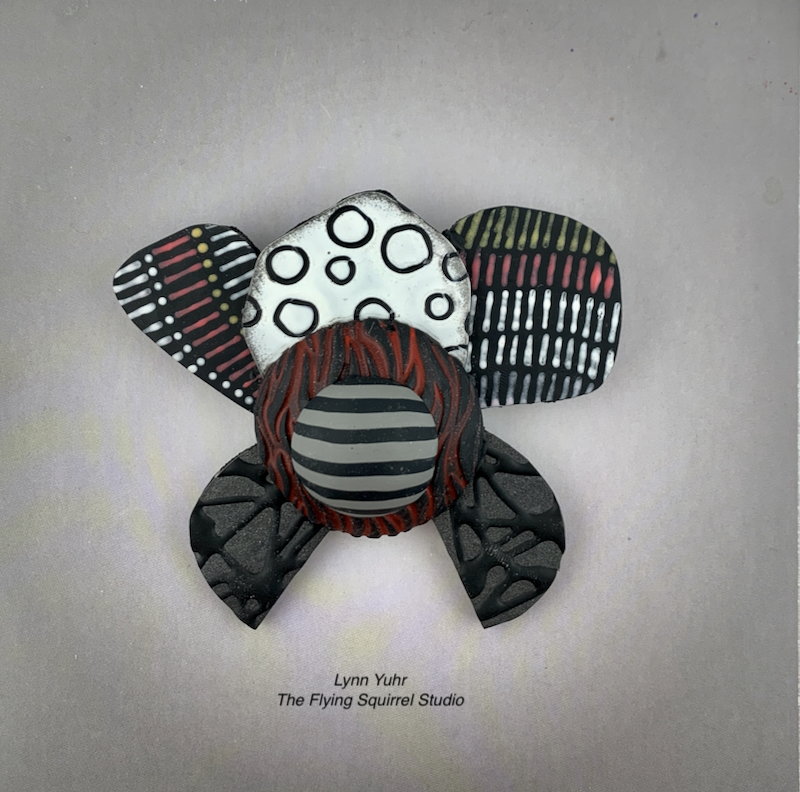
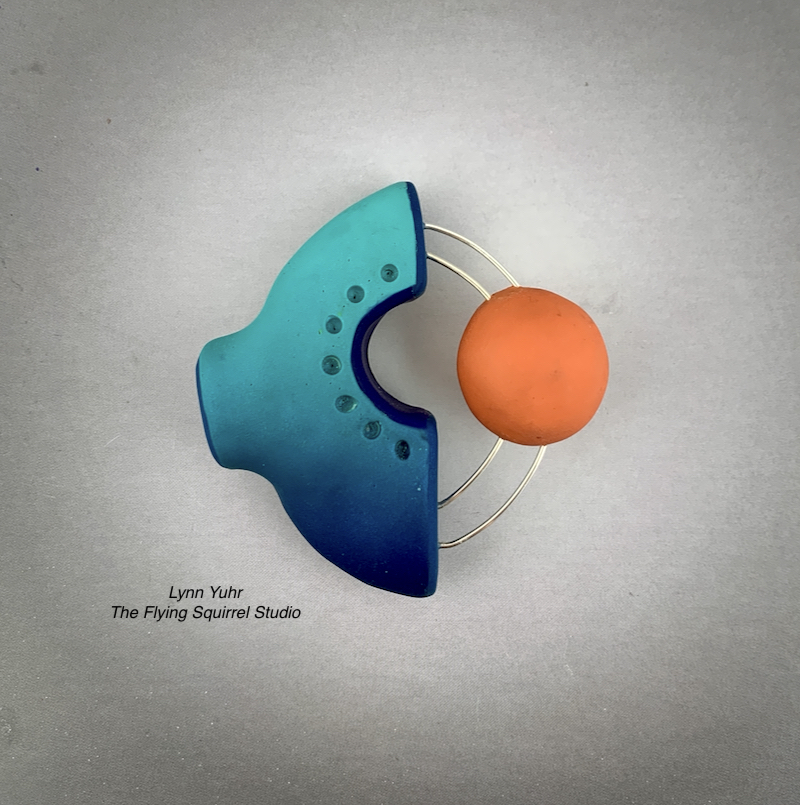
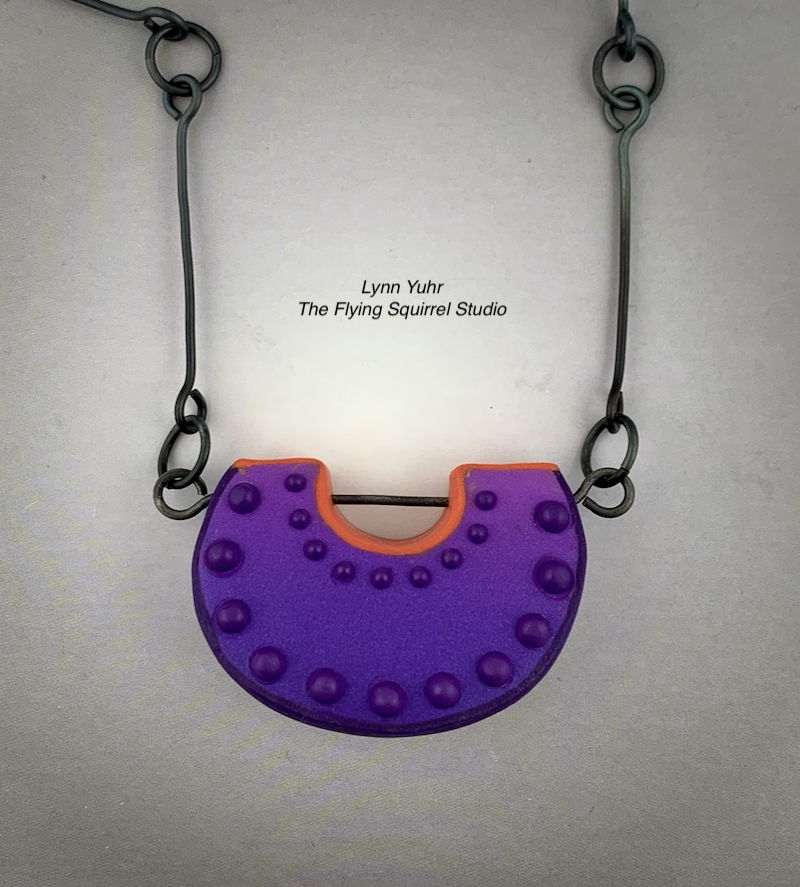
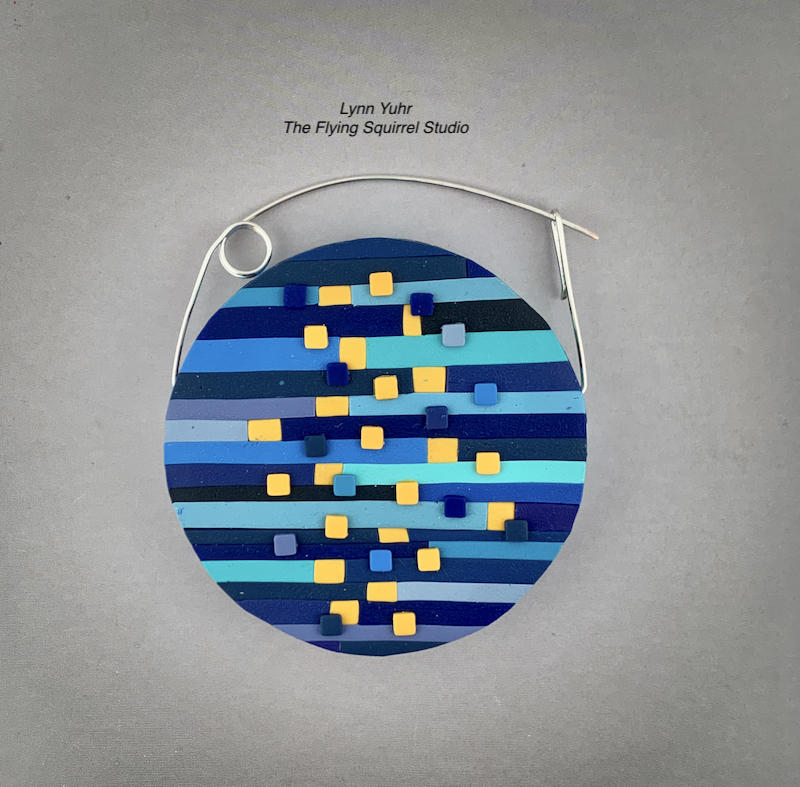
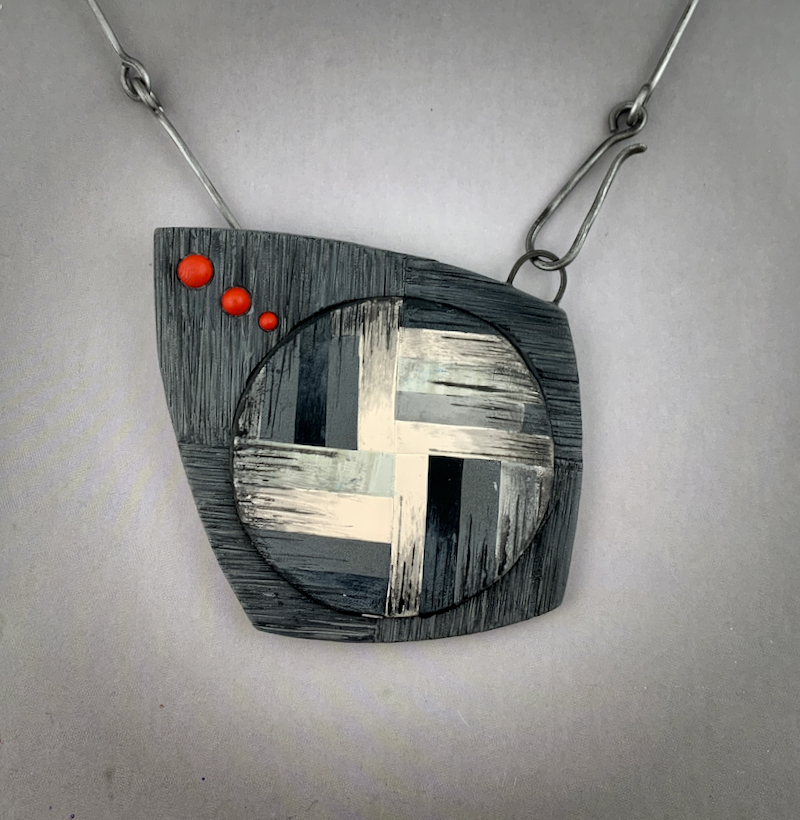
Marked and Framed (Polymer Clay and Cold Connections) – August 5th Saturday: this class combines creating a polymer clay veneer using liquid clays and introduces wire work and cold connections to create a light-weight necklace.

Now to the travel part!! I was pleasantly surprised when I started making my travel arrangements. On a whim, I was searching American Airlines to see if they had any little flights into the Lancaster Regional Airport. Was I shocked when it came up with reasonably priced options. A closer look had me laughing out loud!! American Airlines has teamed up with a bus company (Landline) to provide service to and from Lancaster Regional Airport from Philadelphia International Airport via bus. This is a new service (2022) in selected areas being offered to bring passengers from small regional airports into their hubs.
You book your ticket just like you would normally. The airline transfers your bags between the plane and the bus, so you don’t have to deal with that part. You get an assigned seat on the bus. This makes traveling to and from the Makers Fest so much easier. No rental car needed, just an Uber from the regional airport to your hotel!
Well I hope I see you Lancaster!!