
I love making earrings. I wear them a lot and I prefer a post versus a wire. Just my preference.
When assembling the post portion of the earring you have options. You can completely finish the earring and simply glue a post on the back or you can embed the finding into the clay. The thought of the glue failing and the earring falling apart gives me heartburn. Although I know plenty of people who swear by this method and have had great success.
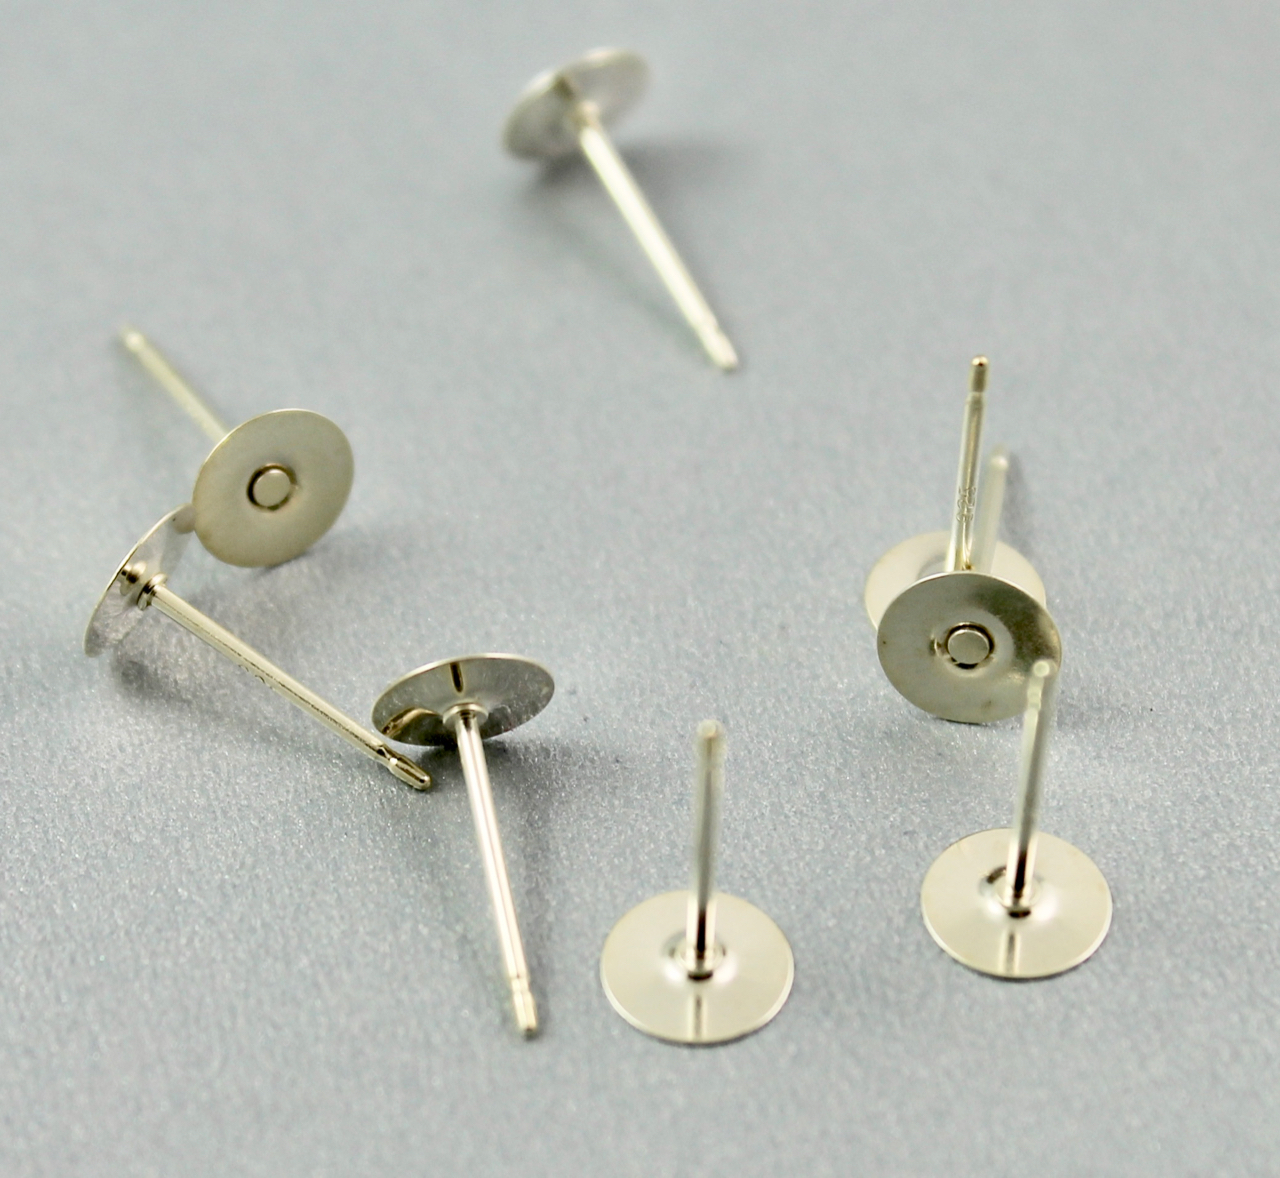
Here is the post part of the earring. You can purchase these in sterling silver, surgical steel, and base metal. I prefer sterling silver to avoid any problems with allergies and it doesn’t cost THAT much more to avoid a problem down the road. I get mine from Rio Grande (www.riogrande.com). The circular pad part of this component comes in different diameters, from 1.5mm and 10mm. I am using a 6 mm here.
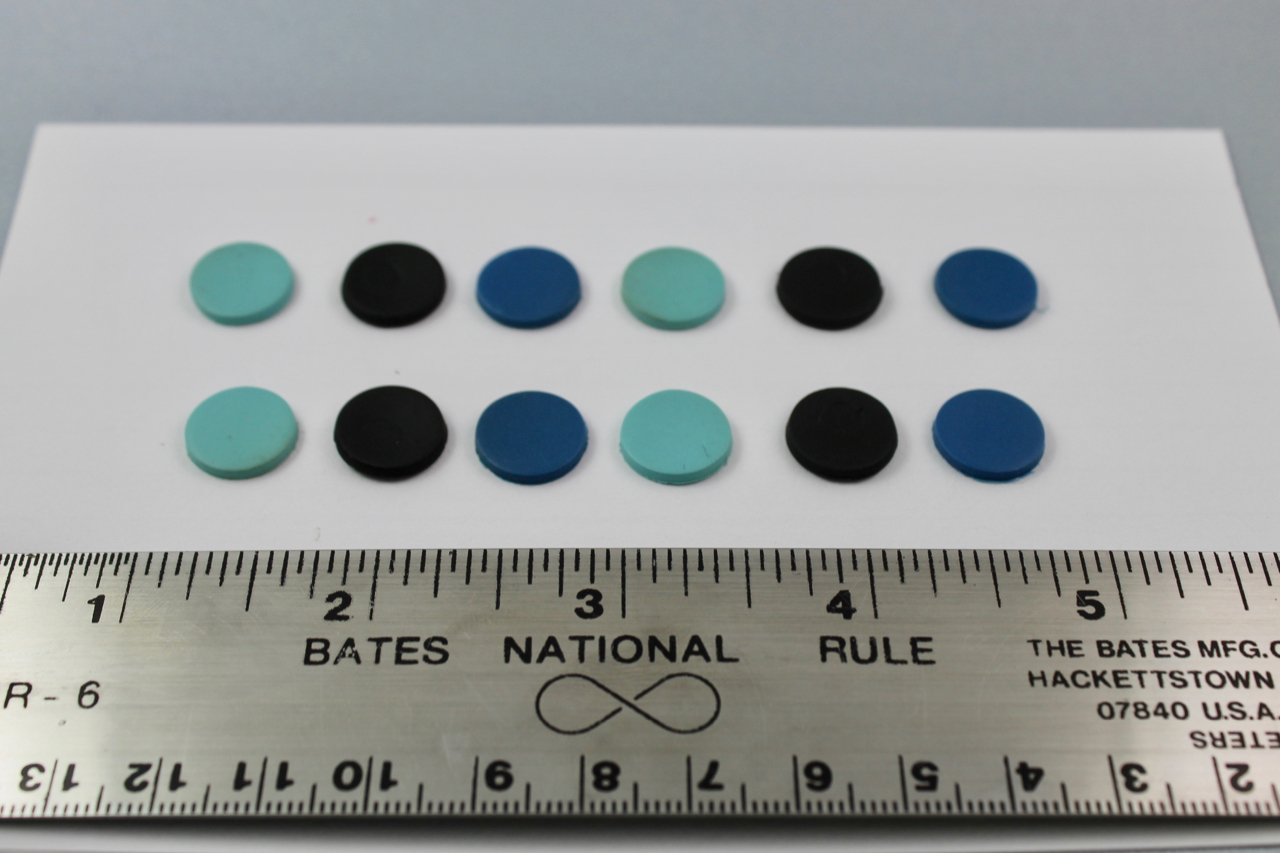
Here’s my approach. I bake what I am going to use as the front of my earring. For this example (and to keep it simple) I am using solid color circles (about 1/2-inch (13mm) diameter and medium thickness) to accommodate the post component.
Keep in mind that the post portion of the earring is usually attached to something dangling or extending from it. So the circle (in this case) needs to accommodate the pad of the post and a drilled hole.

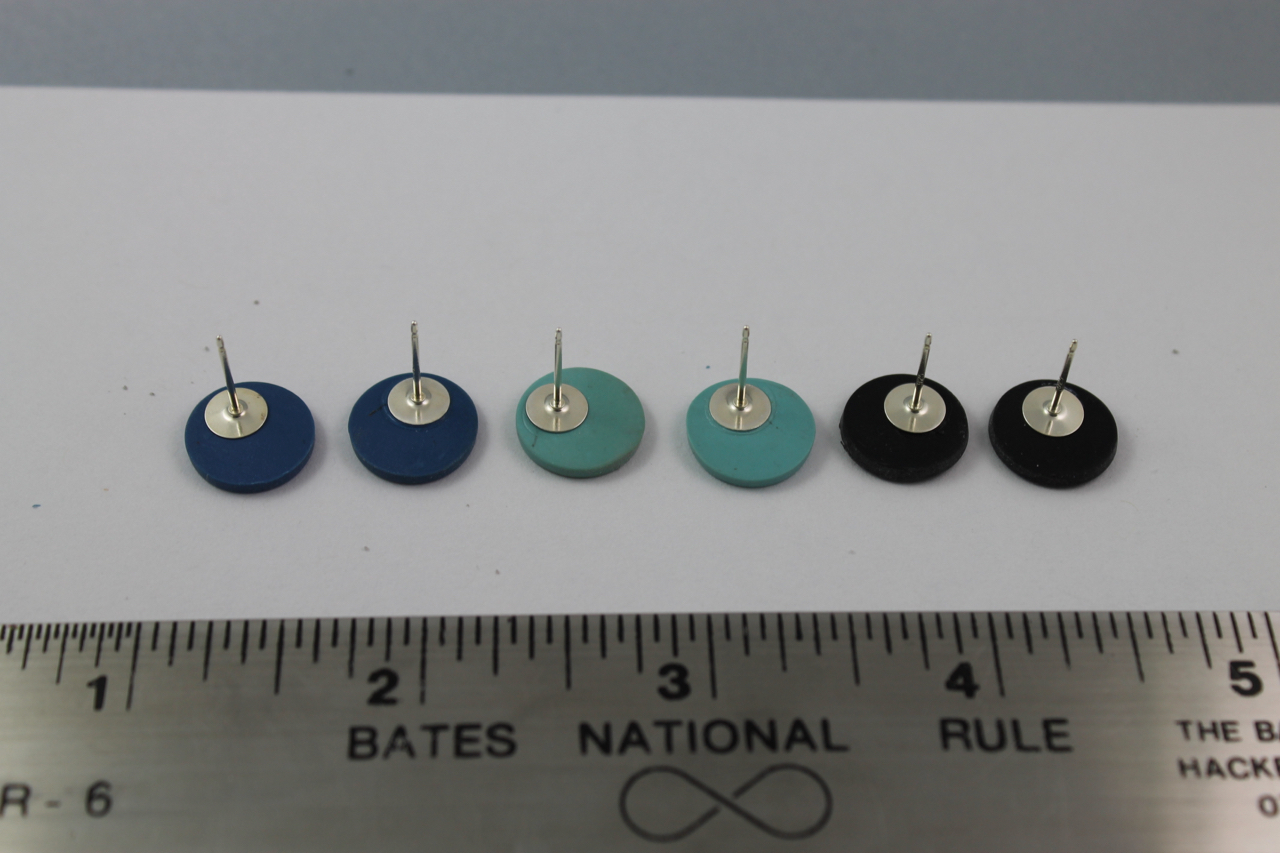
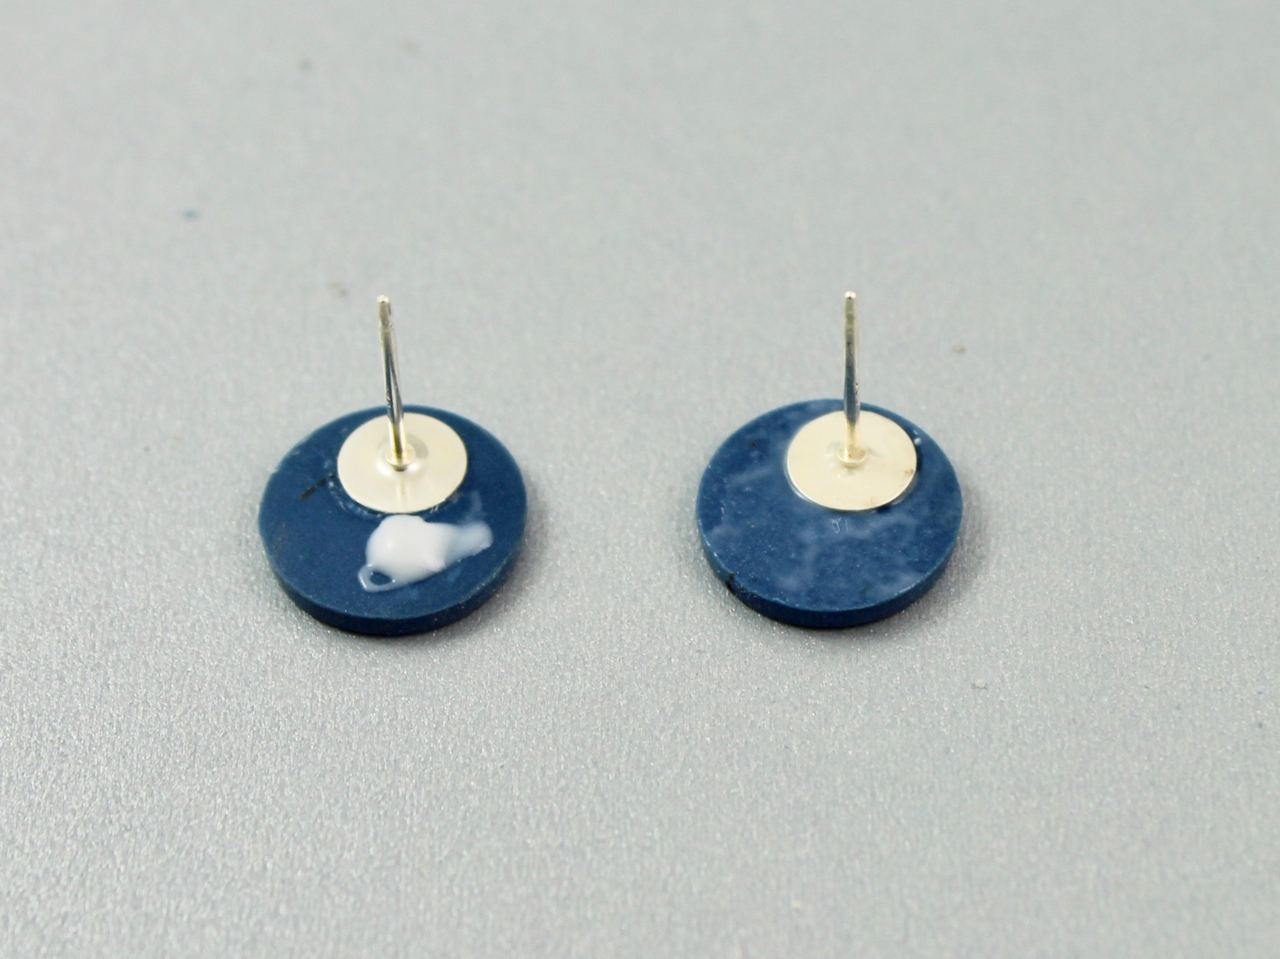
Once the initial circles are baked, place the post component onto the clay with a dab of quick drying glue (I used Locktite). Walk away and let dry. This is only done so that when adding the next layer of unbaked clay the post stays in place and there is less fumbling around. Also note that I have offset the pad rather than centering it, to allow for a drilled hole directly below.
Add a thin layer of translucent or clear liquid clay all over the back of the earring and the pad of the post. This will help adhere the baked clay to raw clay.

Cut additional circles from the same color clay . . . the same diameter as before . . . . the same thickness as before. Roughly center the circle over the back of the earring and push down over the post. You will not get this done perfectly . . . but that is okay!


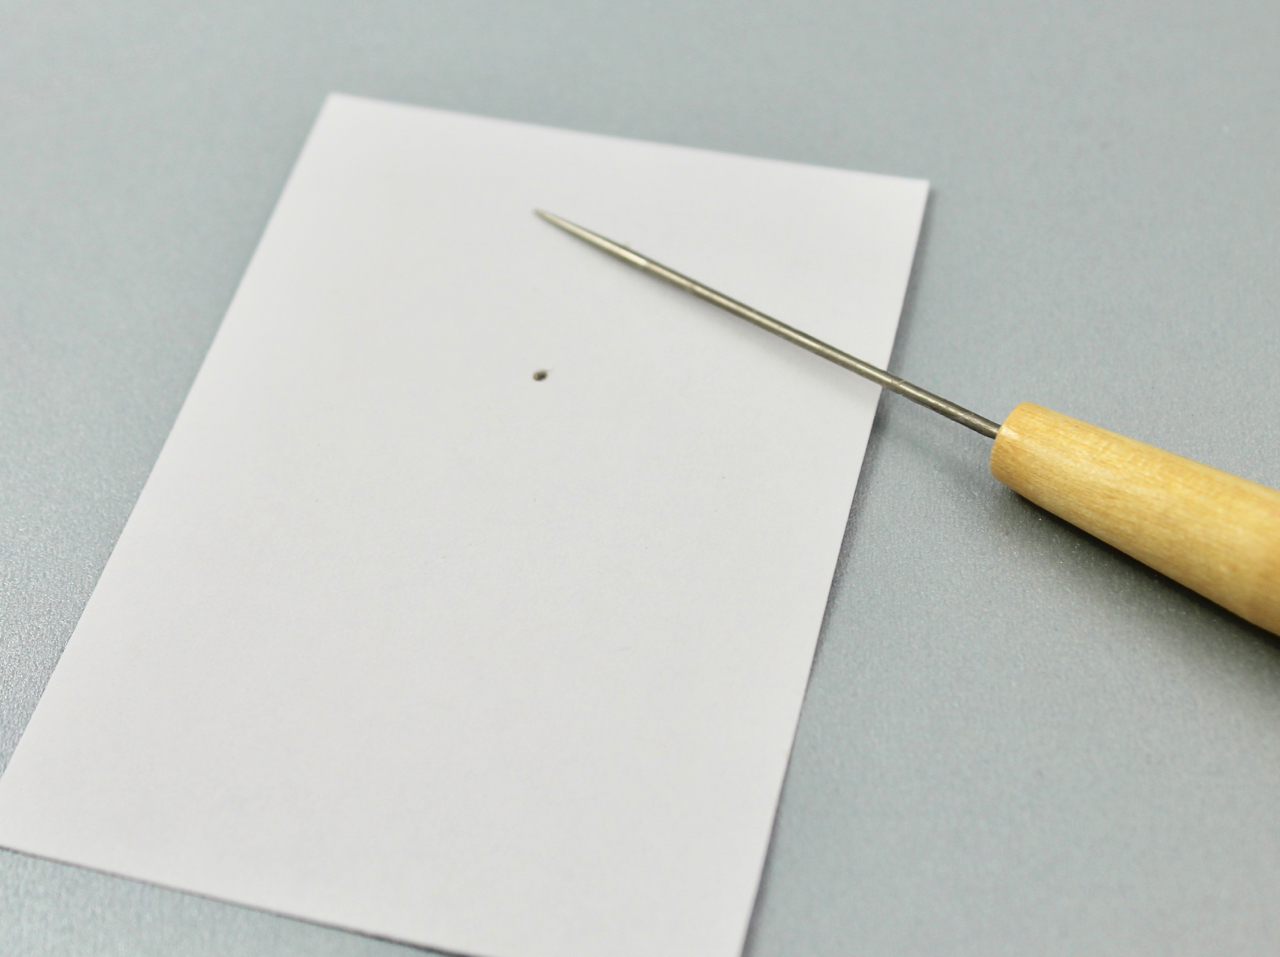
Prick a hole into a small piece of cardstock using a needle, a needle tool, or an awl . . . . whatever sharp pointy thing you have on hand.
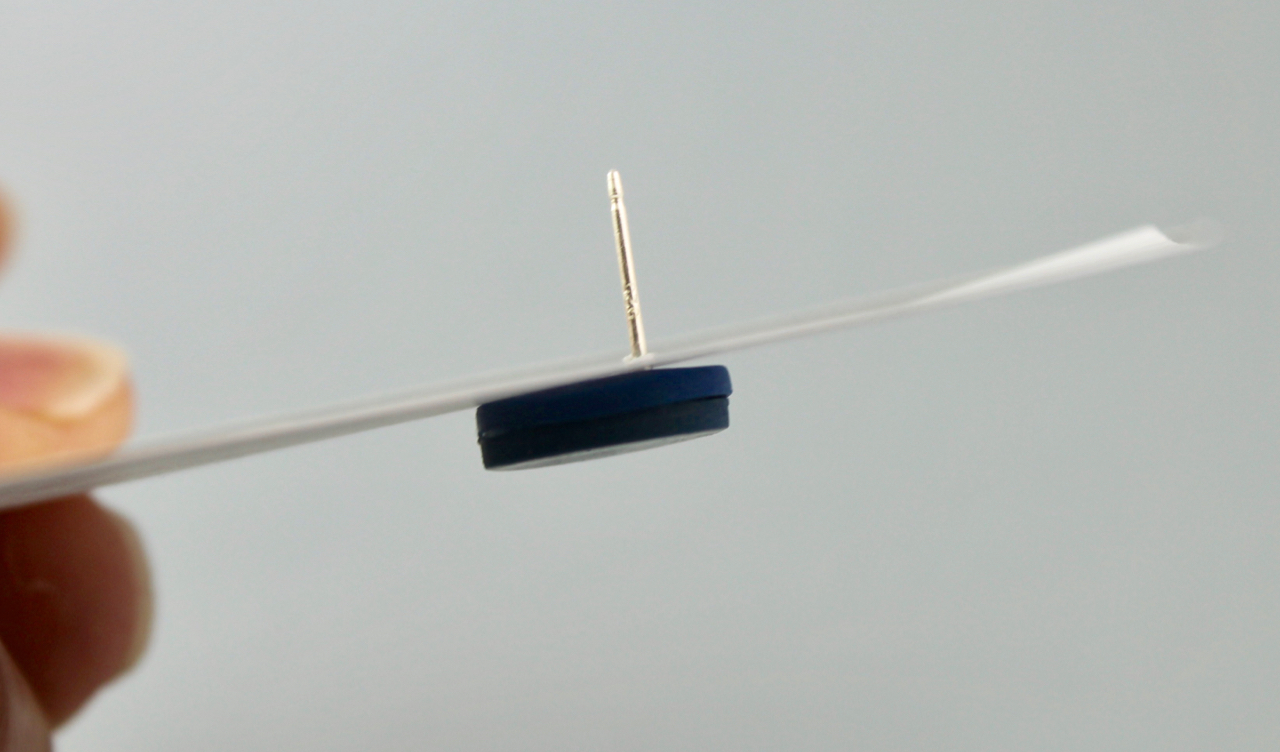
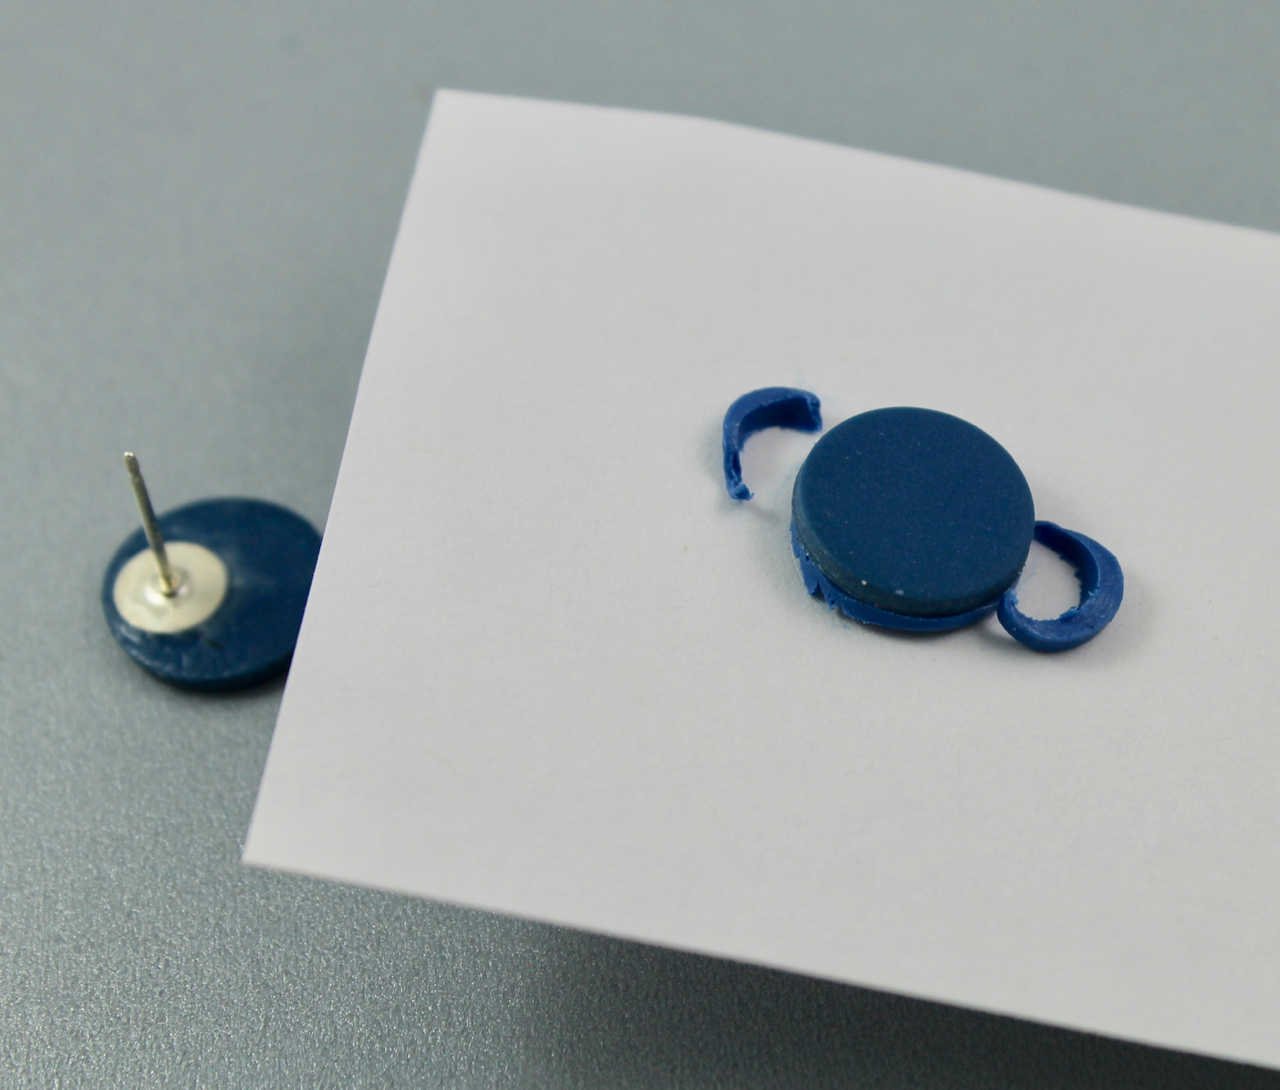
Place the hole over the post and onto the unbaked clay. Gently, but firmly, press the raw clay onto the earring using the card stock as support and avoiding fingerprints. You want the clay to be well adhered and spread up to and slightly over the edges of the baked clay. You can trim the excess with an exacto knife. Remove the cardstock and with the tip of a finger, pull the raw clay over the edge toward the front of the baked circle, hiding the seam. Smooth it out. Then bake again.


After baking, I lightly sand using fine grit sanding sponge (I get mine from a beauty supply store). Drill a hole directly below the post. Make sure you are at least one drill hole diameter away from the edge.
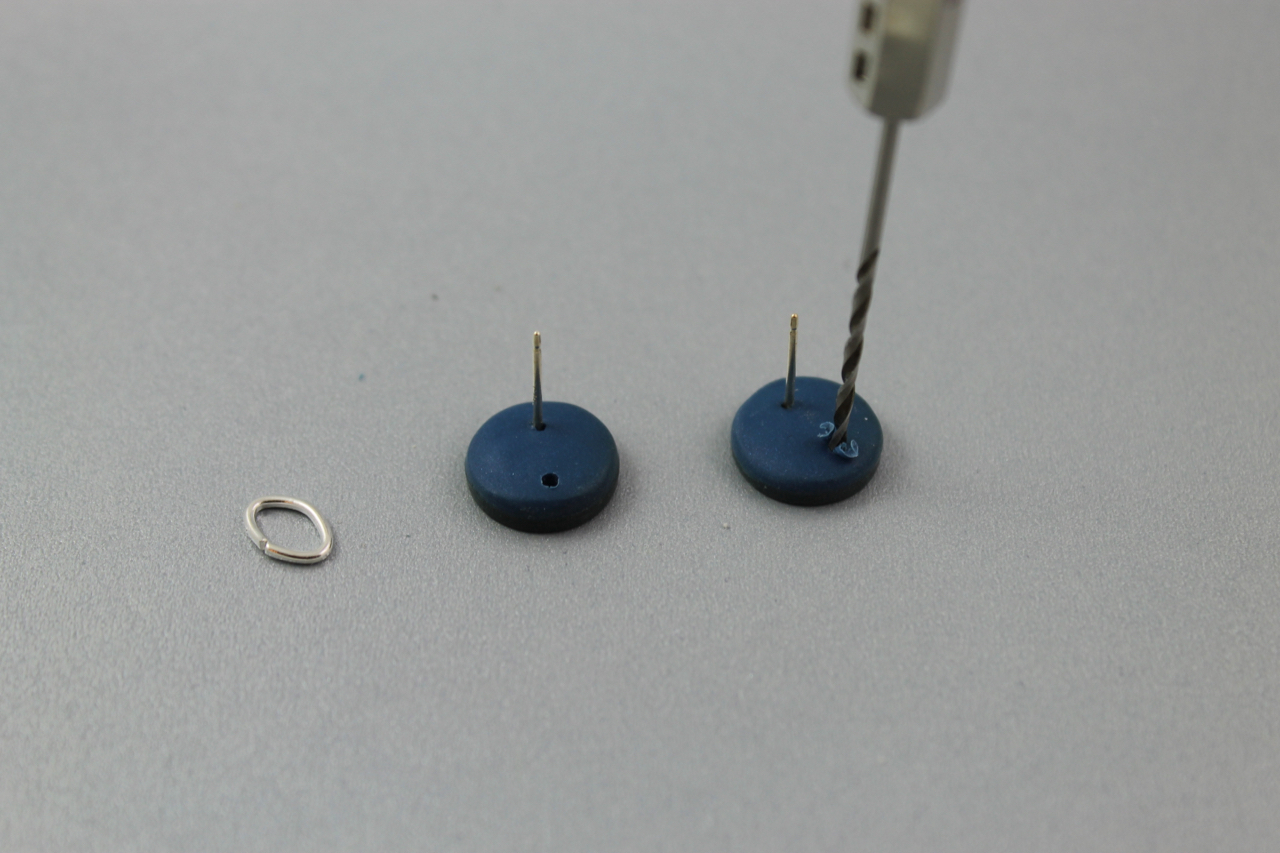
Add a jumpring and a dangly. Ta-da!!
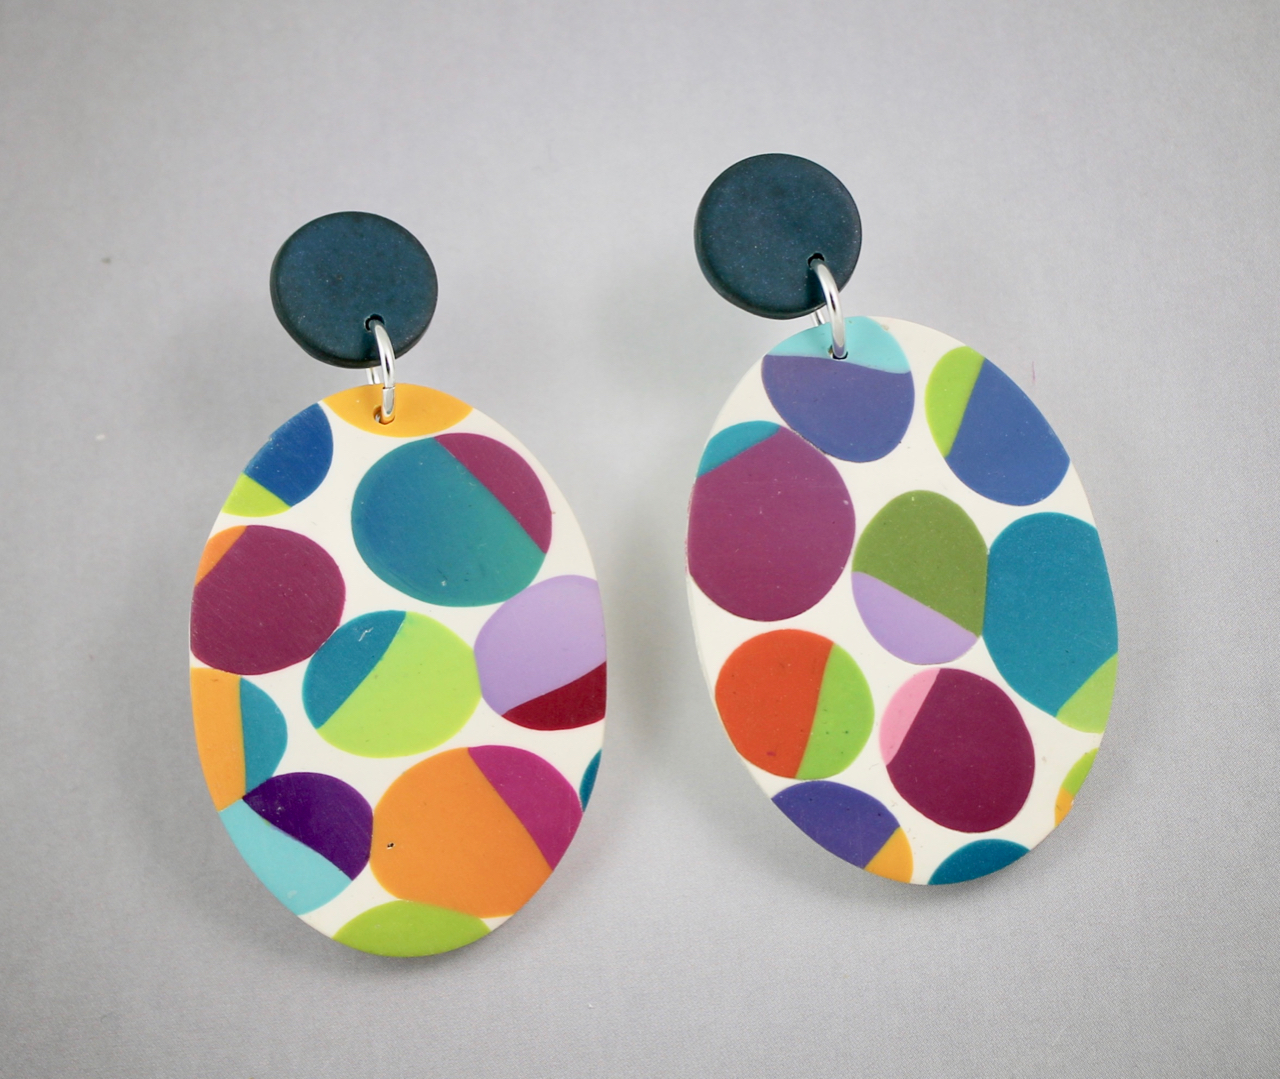

Well I hope you can use this little tutorial and it improves your earrings from just good to better. By the way, you might have noticed that these dangly things were from my scrap experiments. I am pretty pleased with them and I think they warrant some more play time.

Ver you clearly explained that you! I do the same but use a texturing sponge when applying the back. Yours is a good tip to remember if you don’t want texture! We are making some tiny bird brooches in Nepal using a hollow cutter and have actually worked out a way where we can cut the bird, put the post on and put the back on all in one step. I think you could only do it if you were using hollow style cutters. ( not the press down ones like Kemper cutters) I totally agree with you that I would be terrified if I didn’t polymer the backs on! Cheers from Nepal for the time being, Wendy
LikeLike
Thanks Wendy, I think I will play around with that idea. Happy claying!!
LikeLike
Thanks for sharing – a great tutorial that will improve our work overall 🙂
LikeLike
Thank you Mary!
LikeLike
Pingback: Good Enough vs Better (Part 2) | The Flying Squirrel Studio
Hi, really like the tutorial except I can’t read half of it as your using black text over dark areas. Sorry to mention it but It’s a great tutorial and
I don’t want to miss anything important
!
LikeLike
Yikes!! I even previewed it!! Thanks, I am on it!
LikeLiked by 1 person
Nice tutorial! I have a question… Is it OK to bake a piece after adding super glue? Do you use a special type of SG to achieve this? Thanks in advance!
LikeLike
Hi There! The superglue is just used to hold the metal finding in place while you place the second layer of raw clay over it. The finding is actually held in place with the clay once it is baked. Hope this is clear!!
LikeLike
I am still in the crawling stage!! Lol. Learning new techniques each day. Thank you for your advice.
LikeLike
It takes time, enjoy the journey!!
LikeLike